Worksuite SAAS
Project Management System (Laravel - 7)
- created: 01 June 2017
- Latest update: 24th September 2020
- by: Abhinav Saraswat
Thank you for purchasing my script. If you have any questions that are beyond the scope of this help file, please feel free to email via my user page contact form here. Thanks so much!
Description
Server Requirements
- PHP >= 7.2.5
- OpenSSL PHP Extension
- PDO PHP Extension
- Mbstring PHP Extension
- Tokenizer PHP Extension
- XML PHP Extension
- GD PHP Extension
- Fileinfo PHP Extension
Installation
https://www.youtube.com/watch?v=vtANWD_1fok
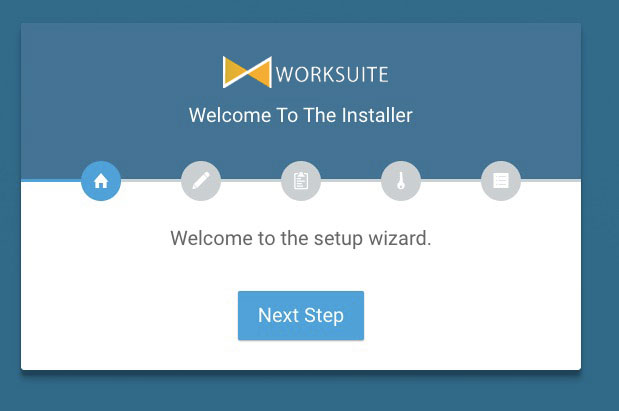
Step 1 - Welcome Screen
After creating the database next step is accessing the application URL from a browser. One thing you need to know is that Laravel is designed to allow HTTP access to the application from your public folder only. This means that this application will be available at yourdomain.com/public. It is good enough for installation and development purposes, however, for production, you will probably want to have your application available at yourdomain.com. In next section, I will show you how you can accomplish that.
To open the installer. Visit
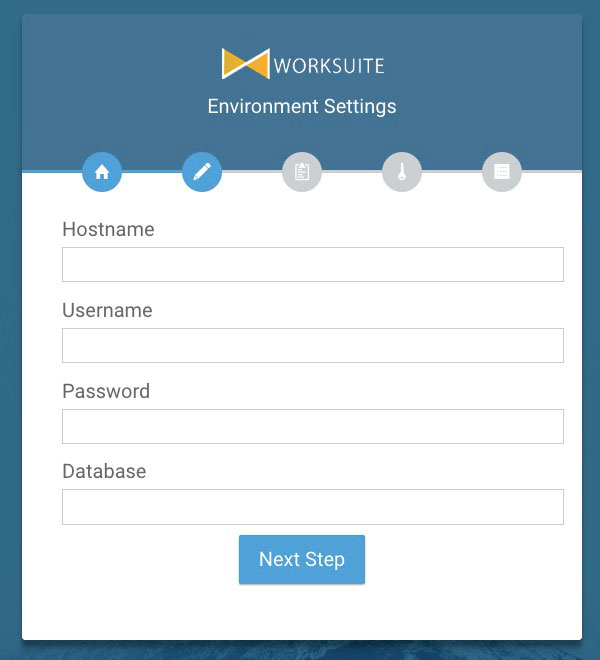
Step 2 - Database/Environment Setting
On step 2 you have to fill in your database credentials
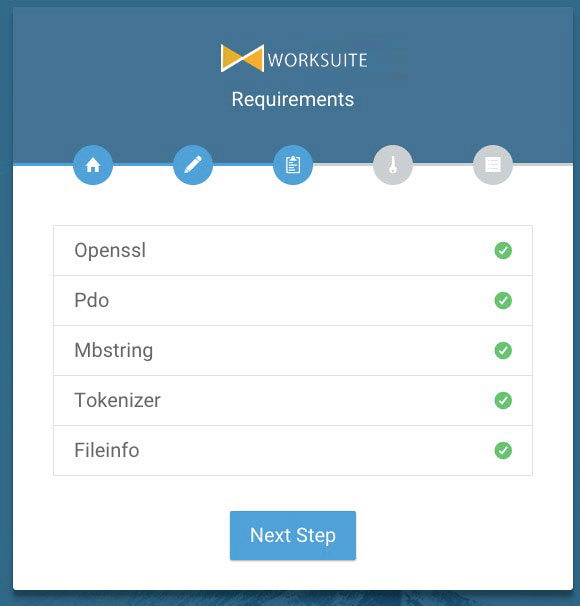
Step 3: System Requirements
After clicking on "Next" button, you will be redirected to System Requirements step during the installation wizard, System Requirements.
Step 4 - Directory Permissions

Step 5: Exit
The last step is exit step.

Super Admin

Email: superadmin@example.com

Password:123456
Admin

Email: admin@example.com

Password:123456
Employee

Email: employee@example.com

Password:123456
Client

Email: client@example.com

Password:123456
Configuration
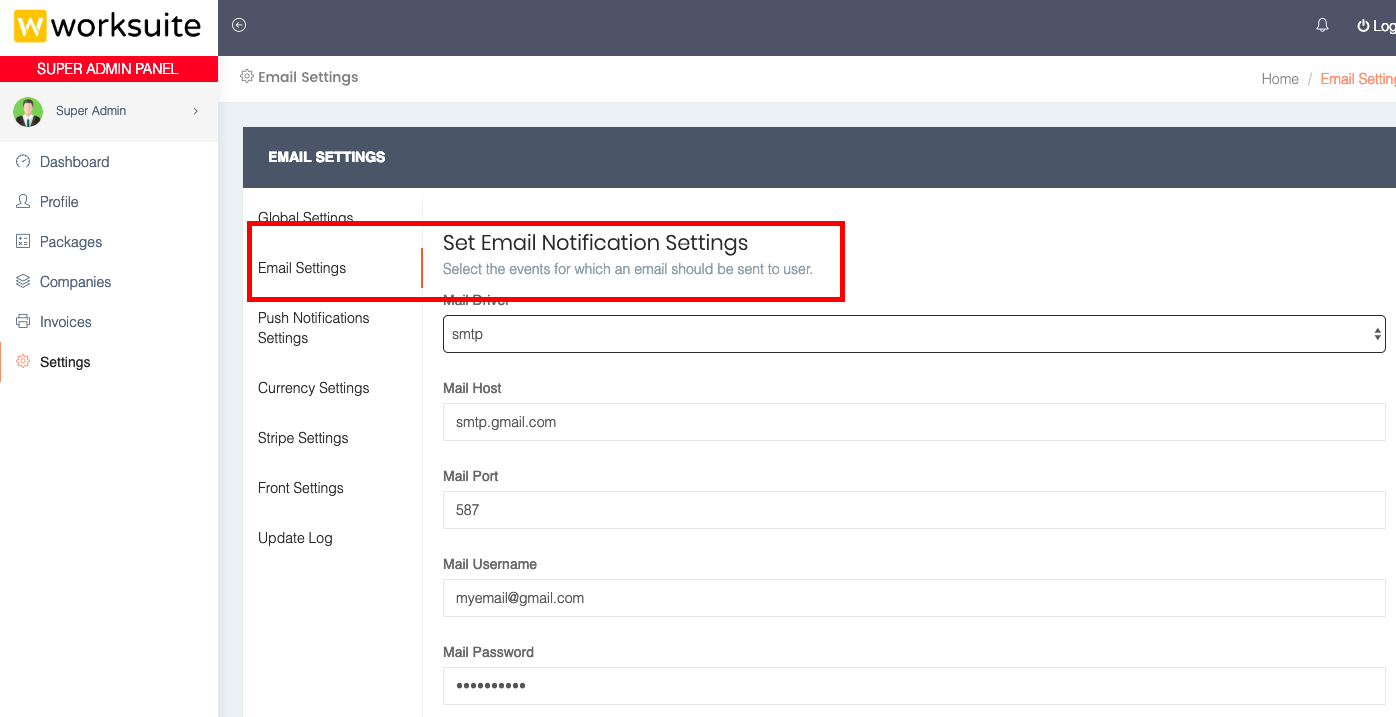
Step 1 - Setup email settings
Setup your email configuration in superadmin email settings.
Step 2 - Setup payment settings
Setup your payment settings for the package purchase.
Step 3 - Set GOOGLE RECAPTCHA KEY (v2)
Add google recaptcha key in superadmin global settings.
Admin Panel
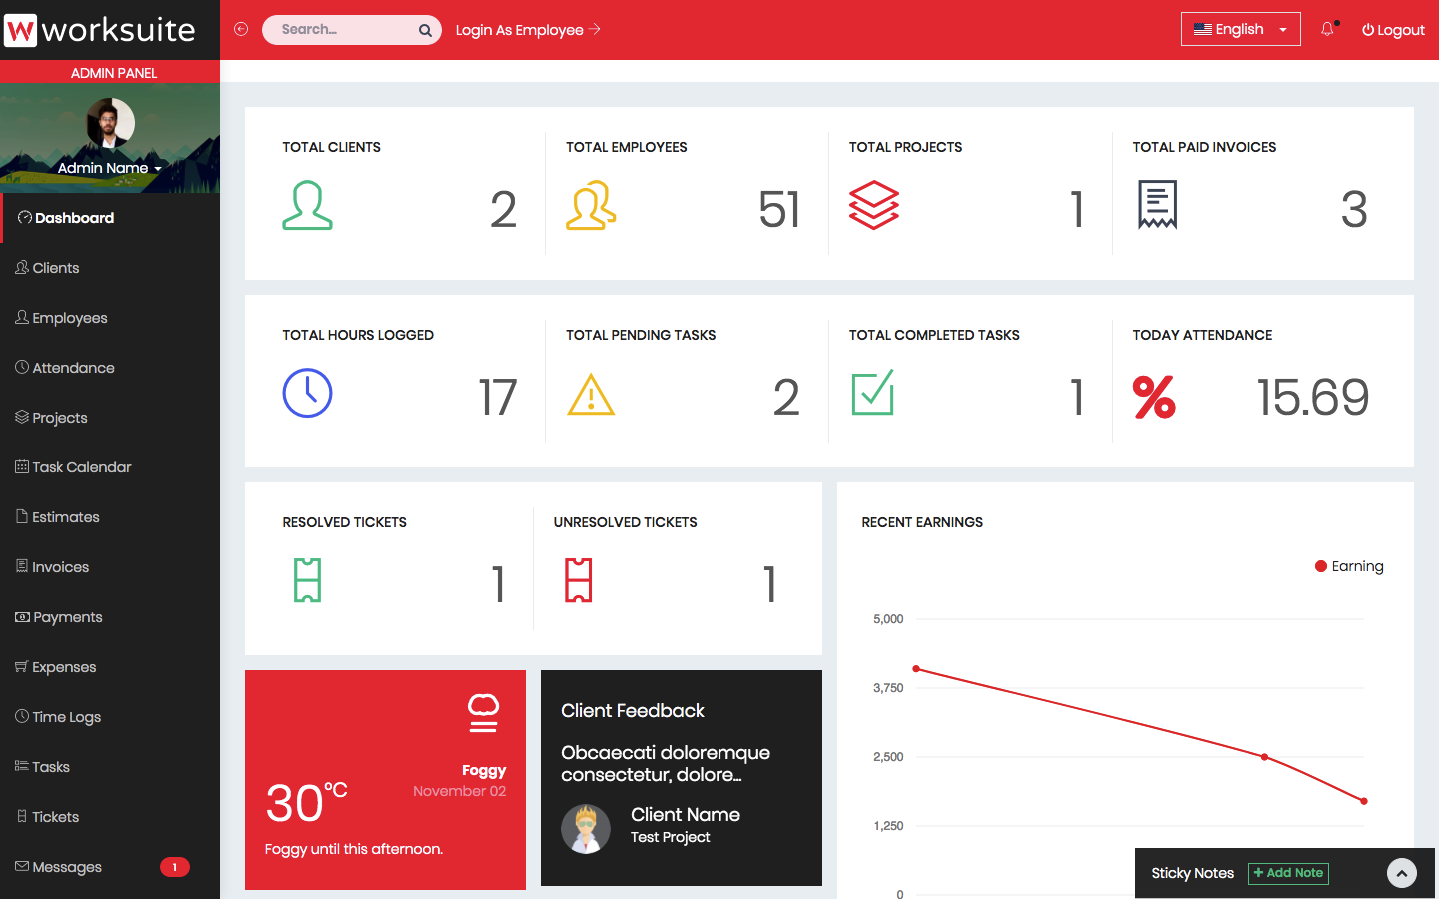
Dashboard
Admin dashboard shows important information about your projects, payments, clients and employees.
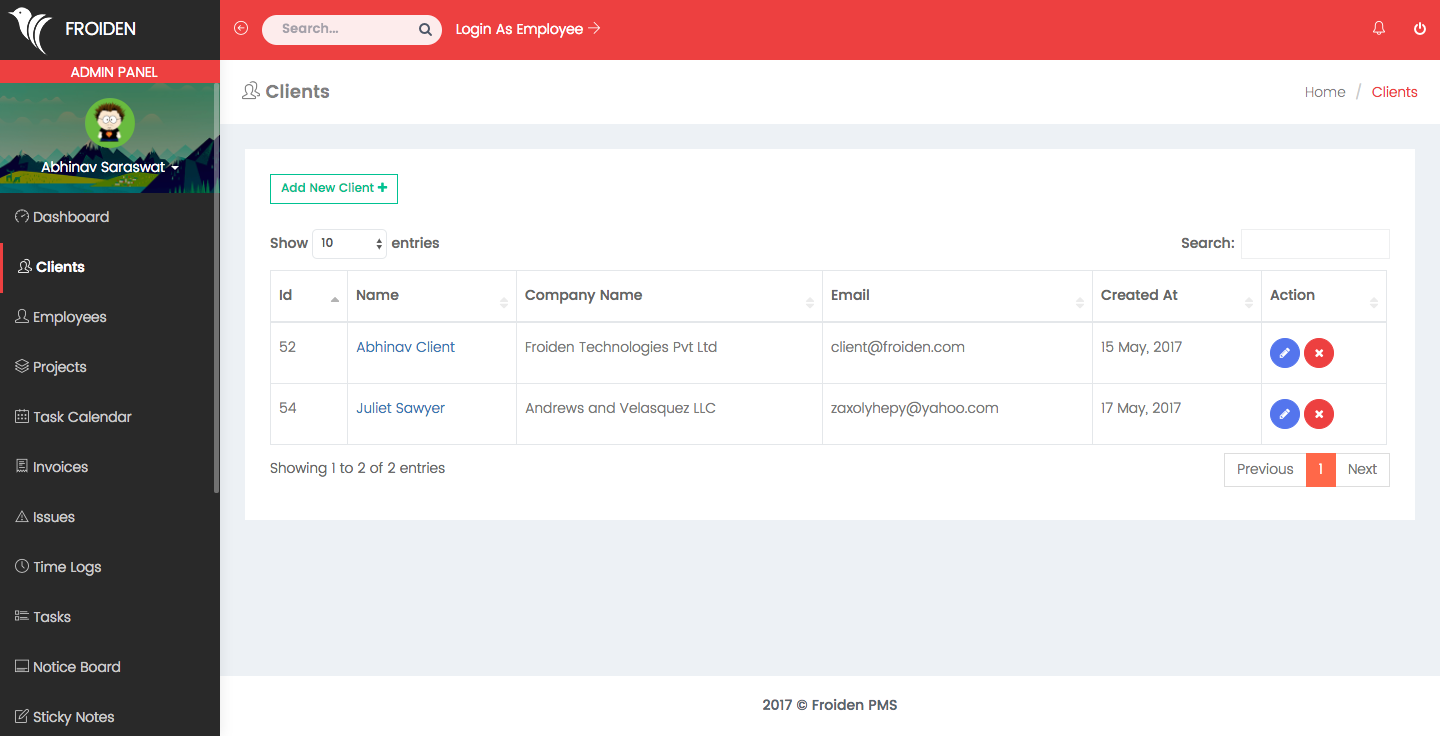
Clients
This section shows you the list of all your clients. You can see the details related to the client by click on the client name.
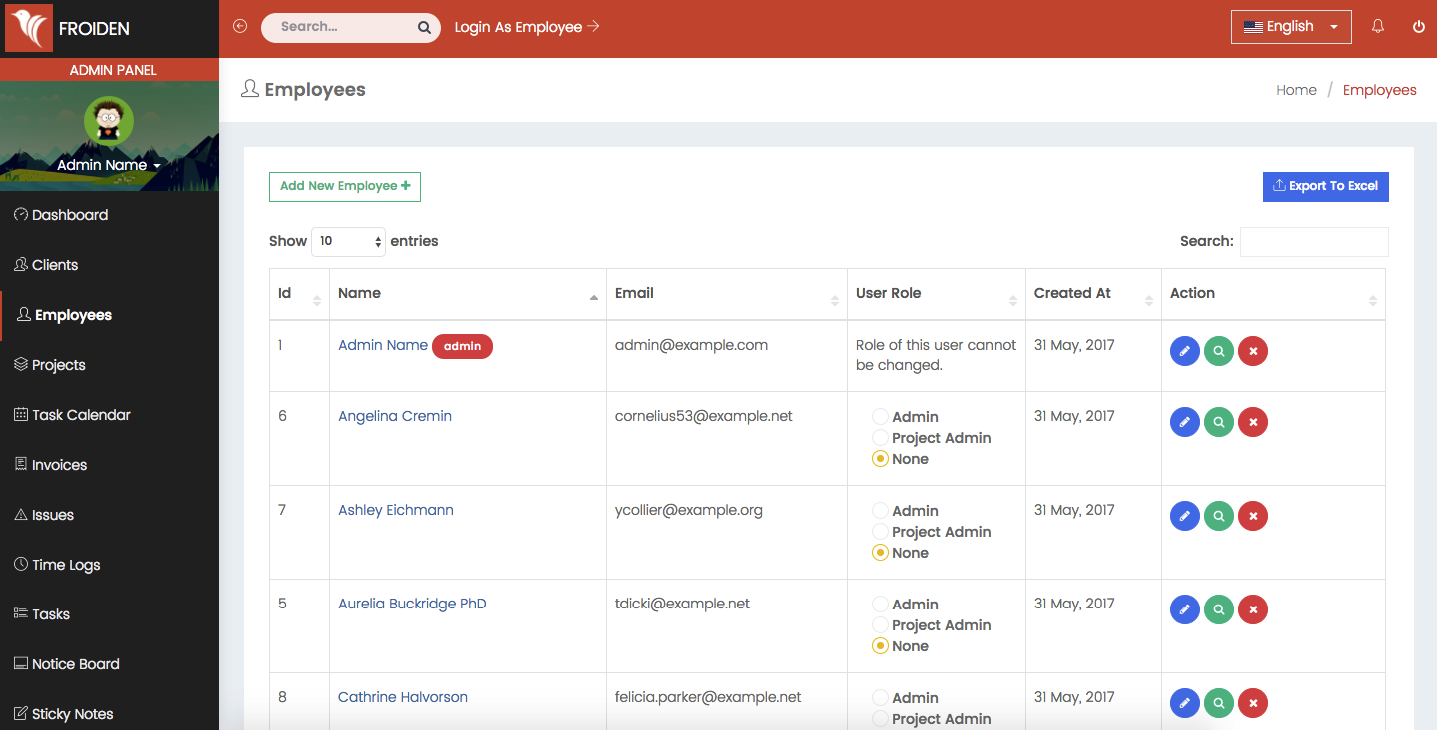
Employees
This section shows the list of all employees in your company. You can see the details related to the employee by click on the employee name. You can also change the roles of the users from this table.
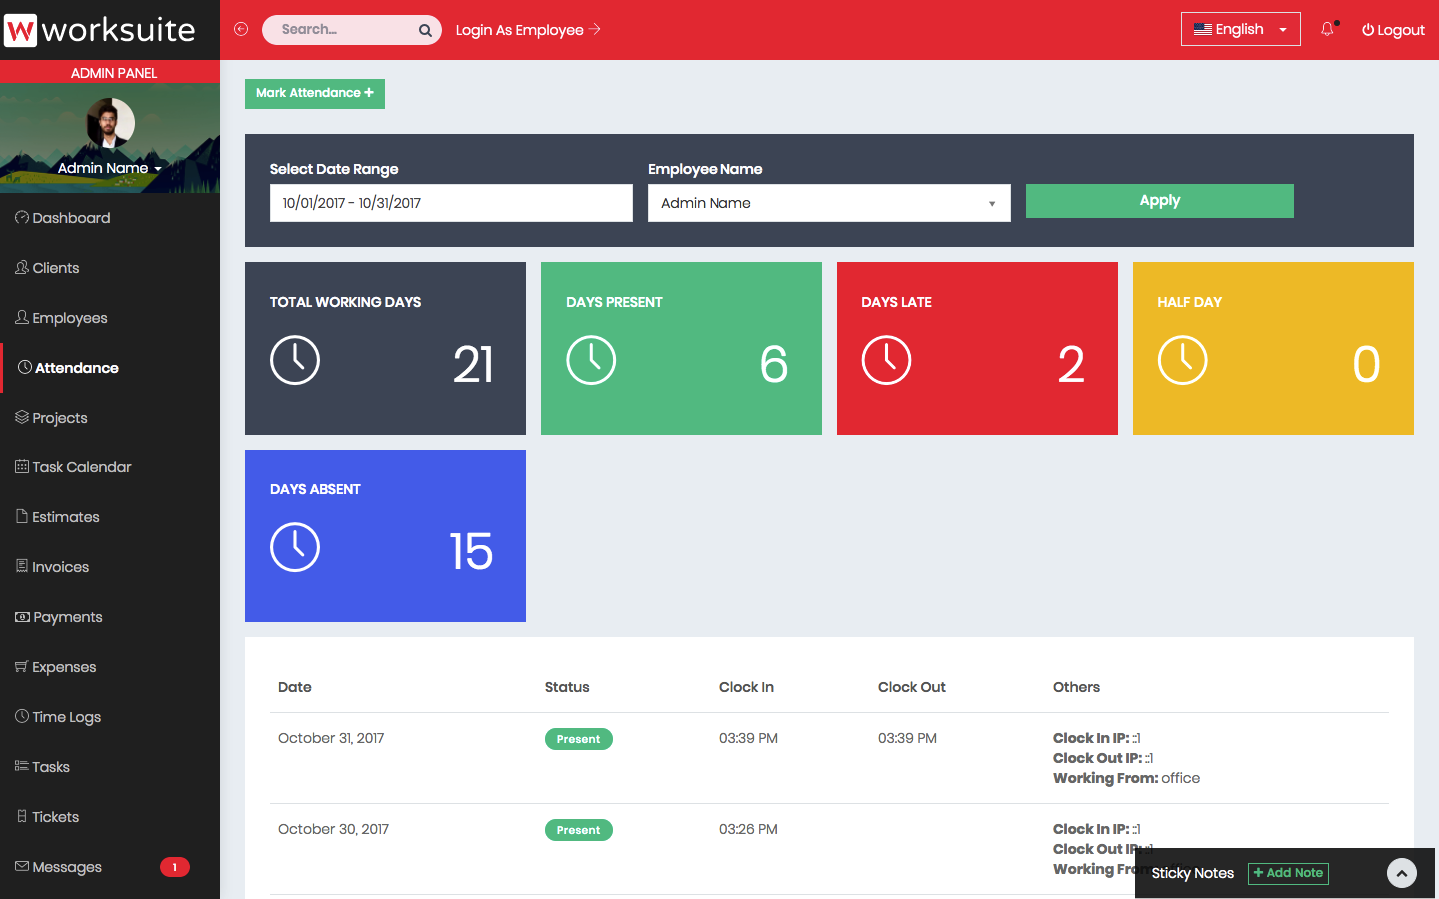
Atttendance
This section allows you to mark and track the attendance of your employees.
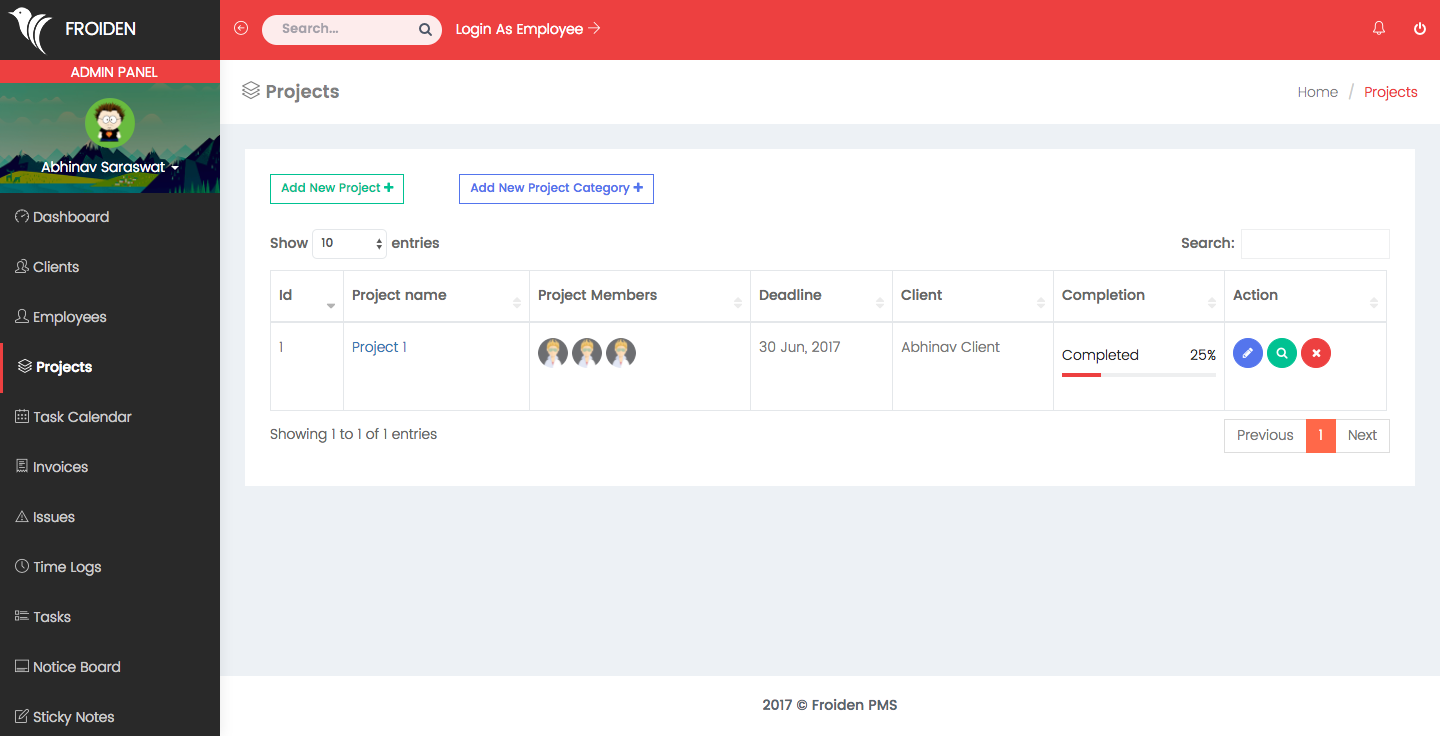
Projects
It shows the list of projects your company is working on. You can view the details by clicking on project name.
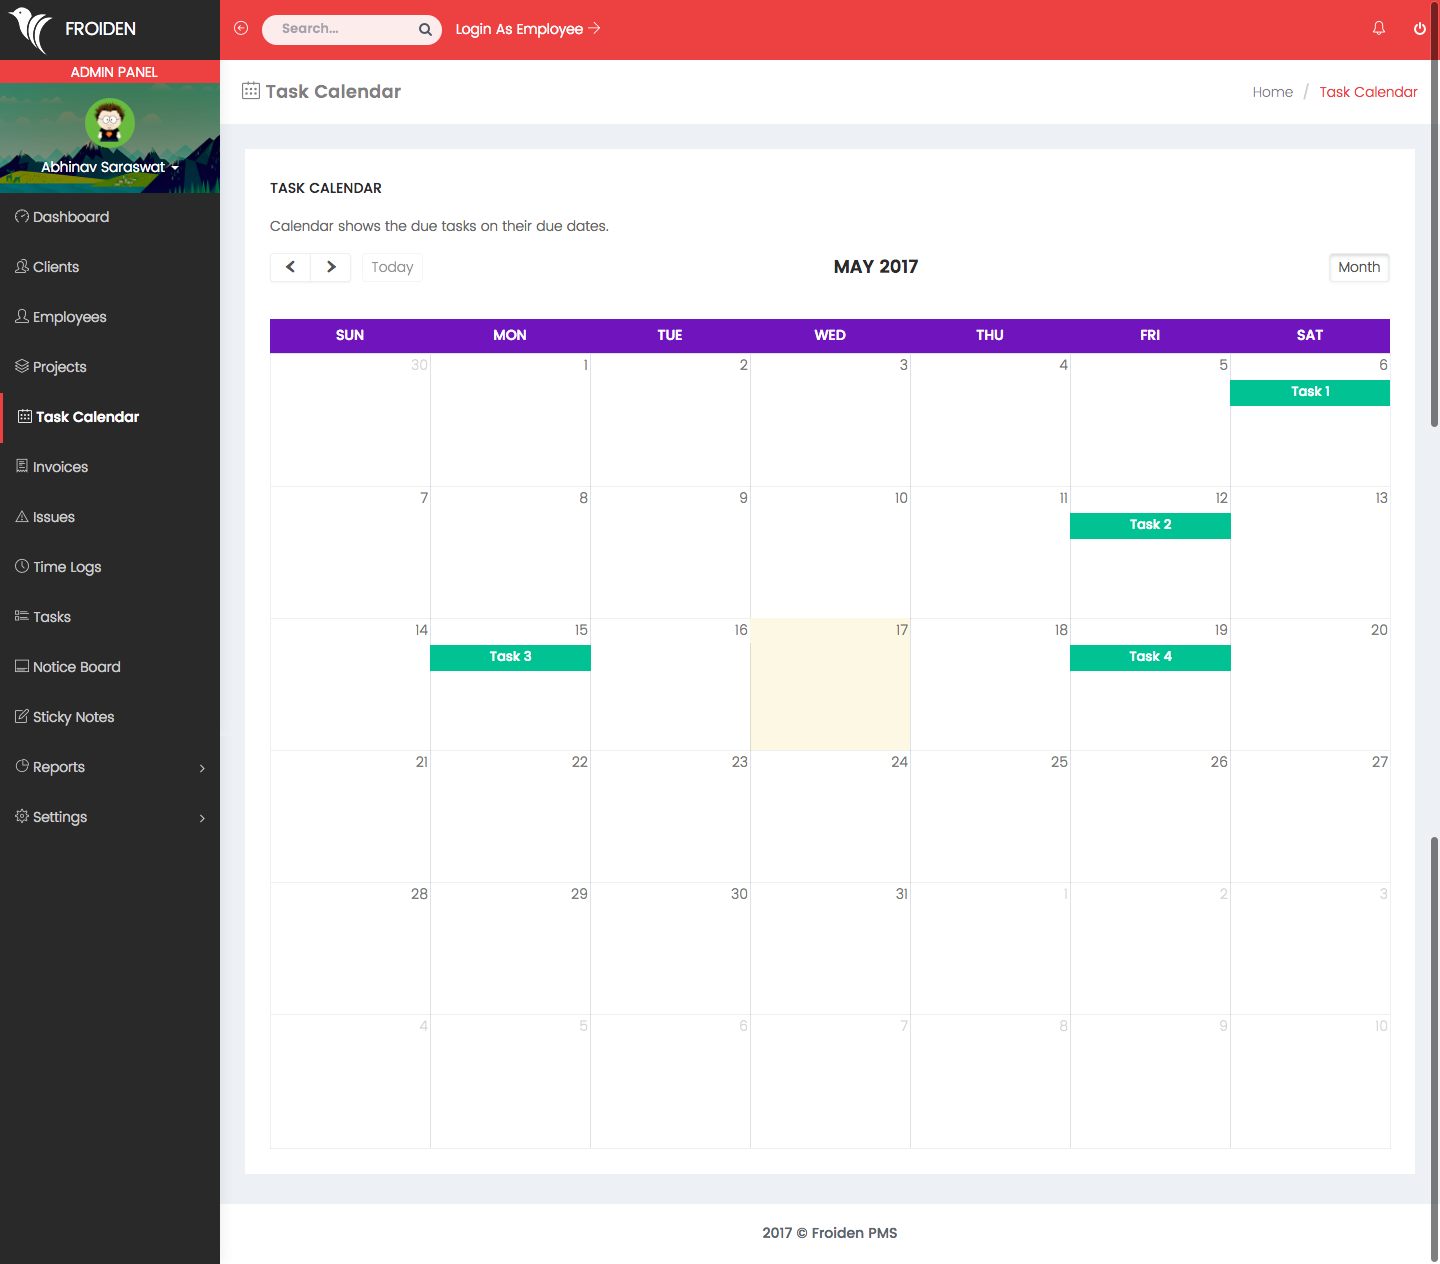
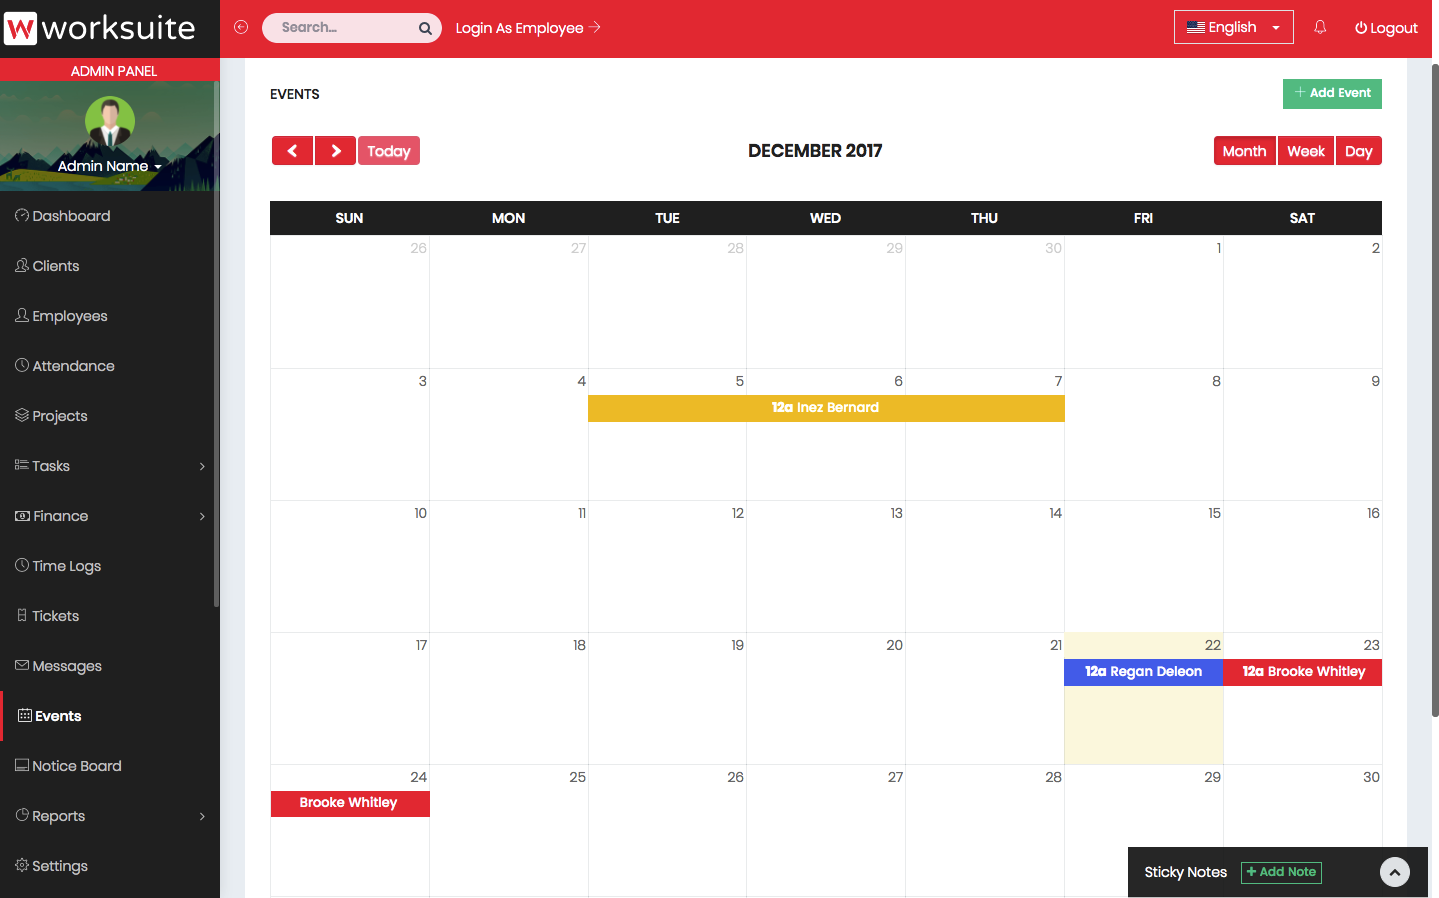
Task Calendar
It shows all the tasks which you have assigned to your employees on a calendar according to their due dates.
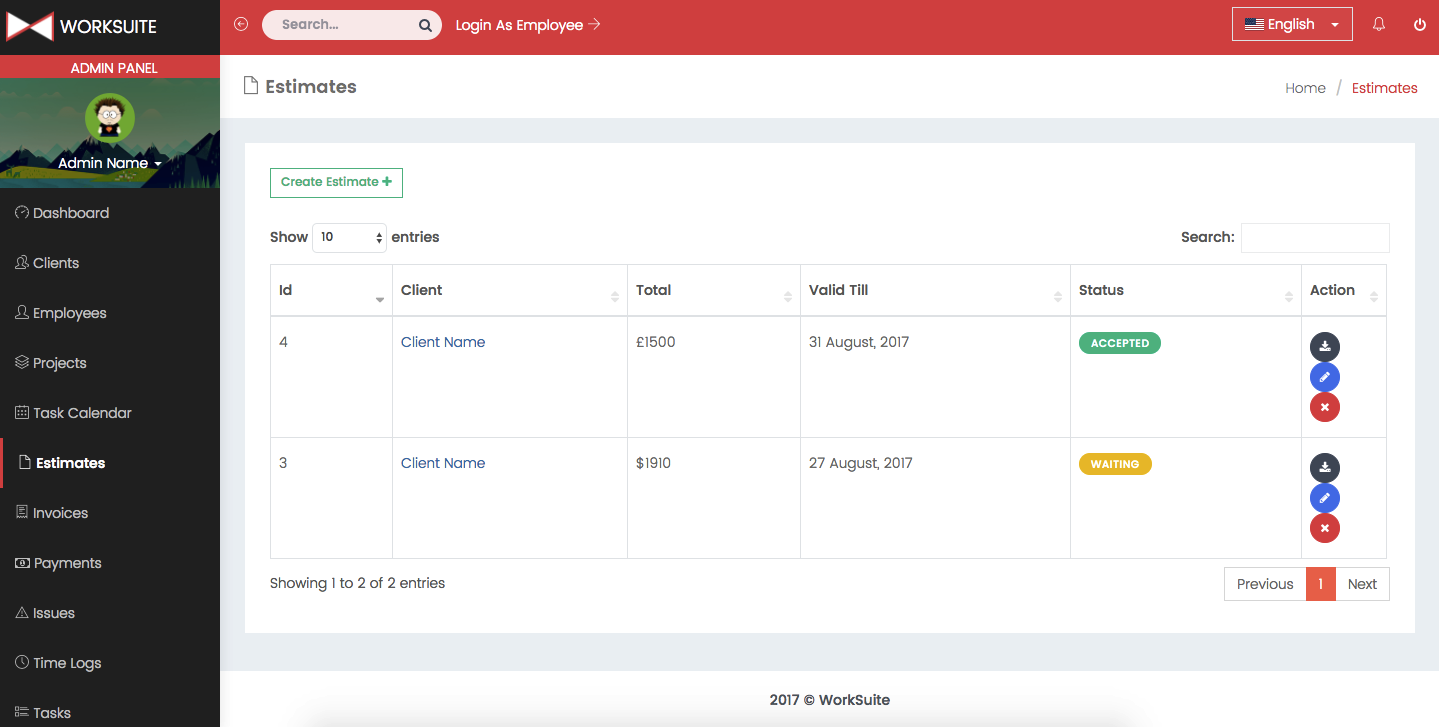
Estimates
You can generate estimates/quotations for your clients. The estimate will be visible to client in their panel.
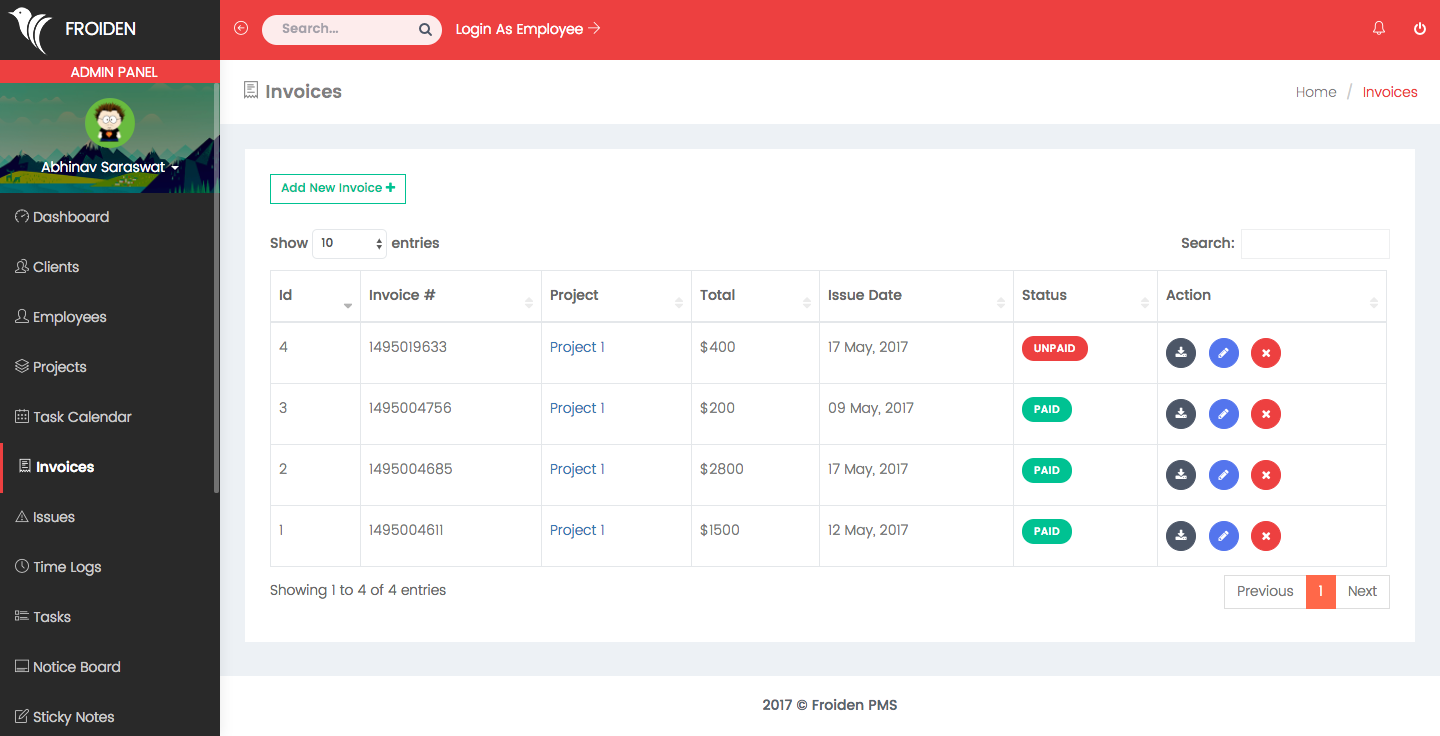
Invoices
It shows the list of all invoices which you have generated for your clients.
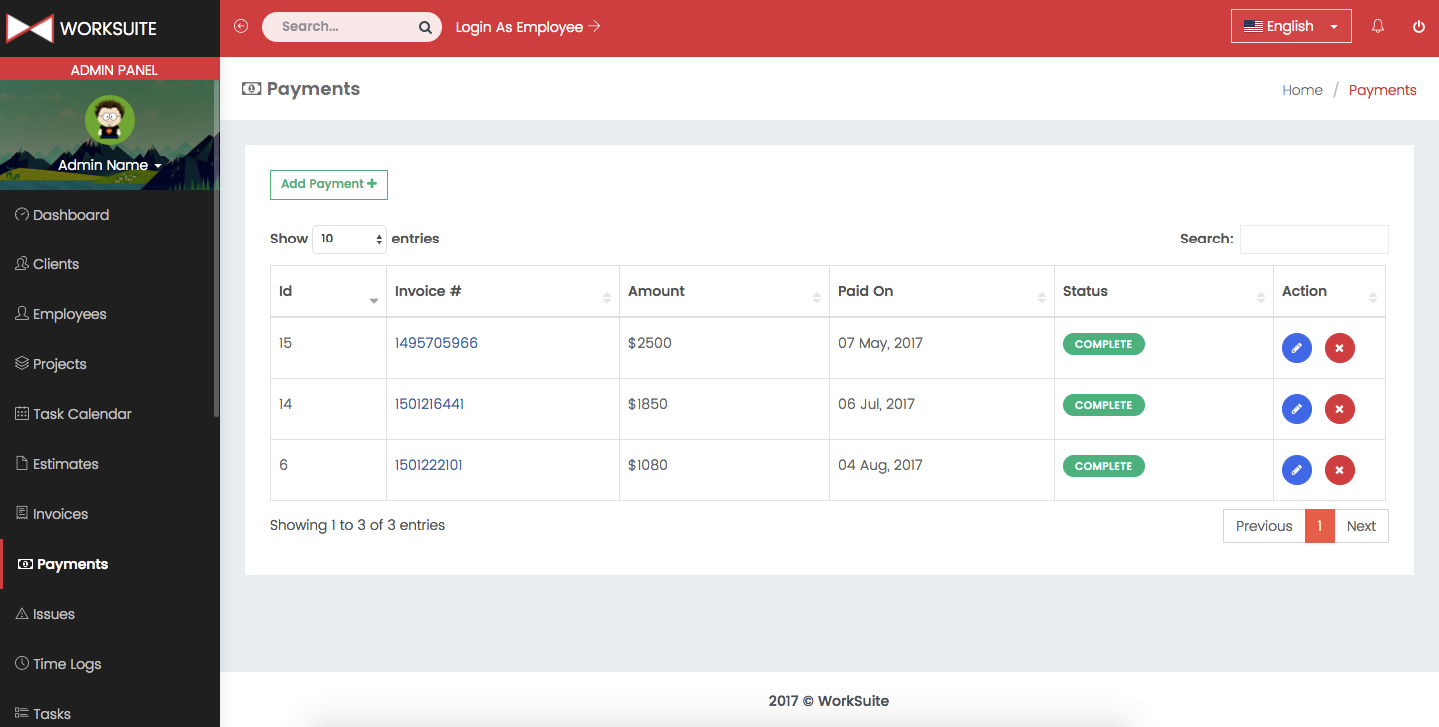
Payments
It shows the list of all payments made by your clients.
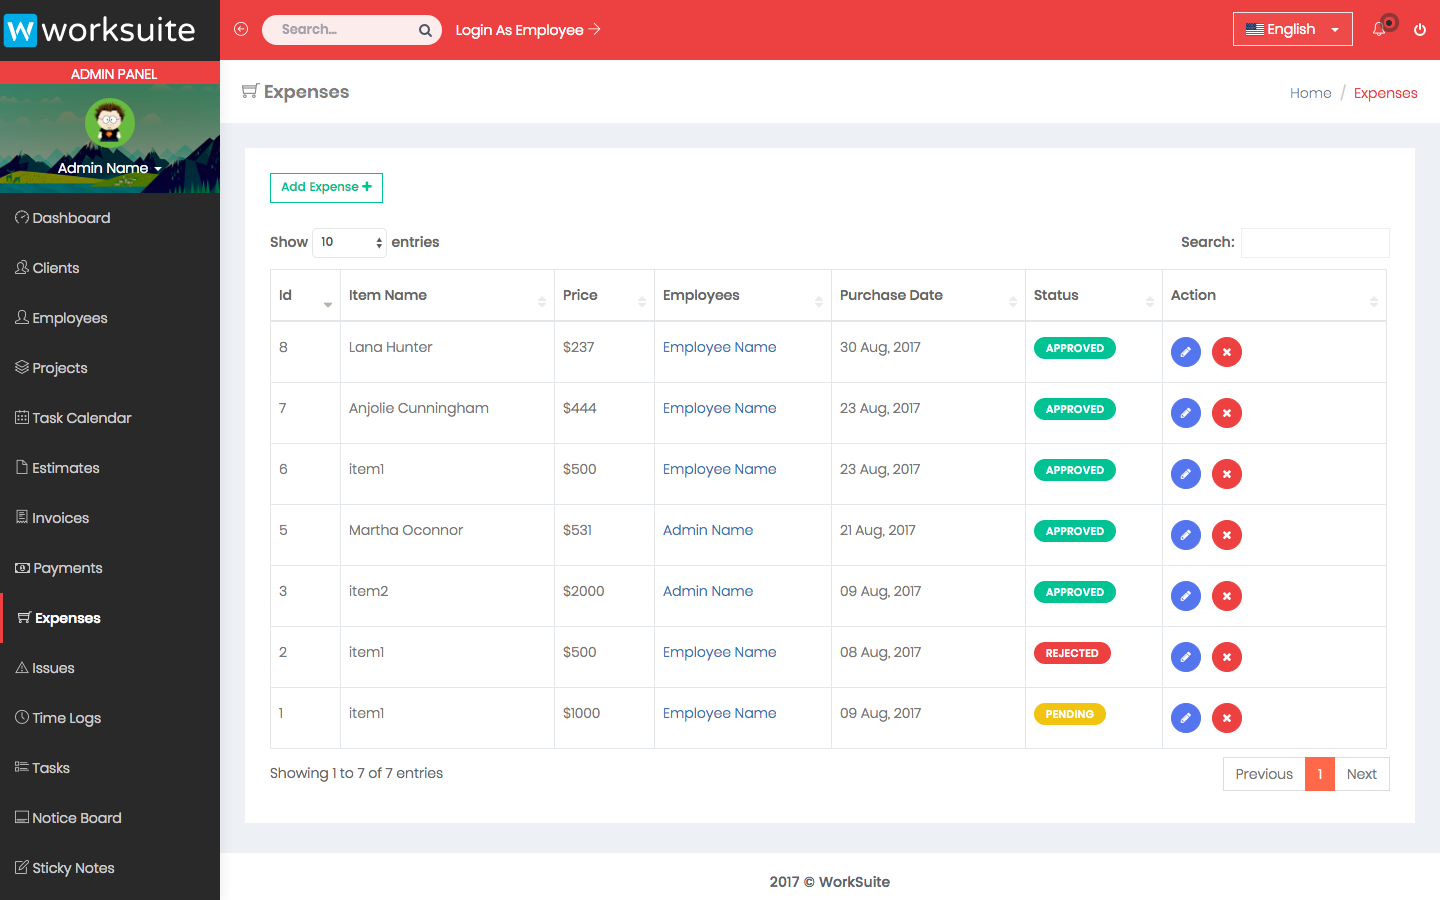
Expenses
You can manage the expenses made by you and your employees.
Events
It shows the list of events.
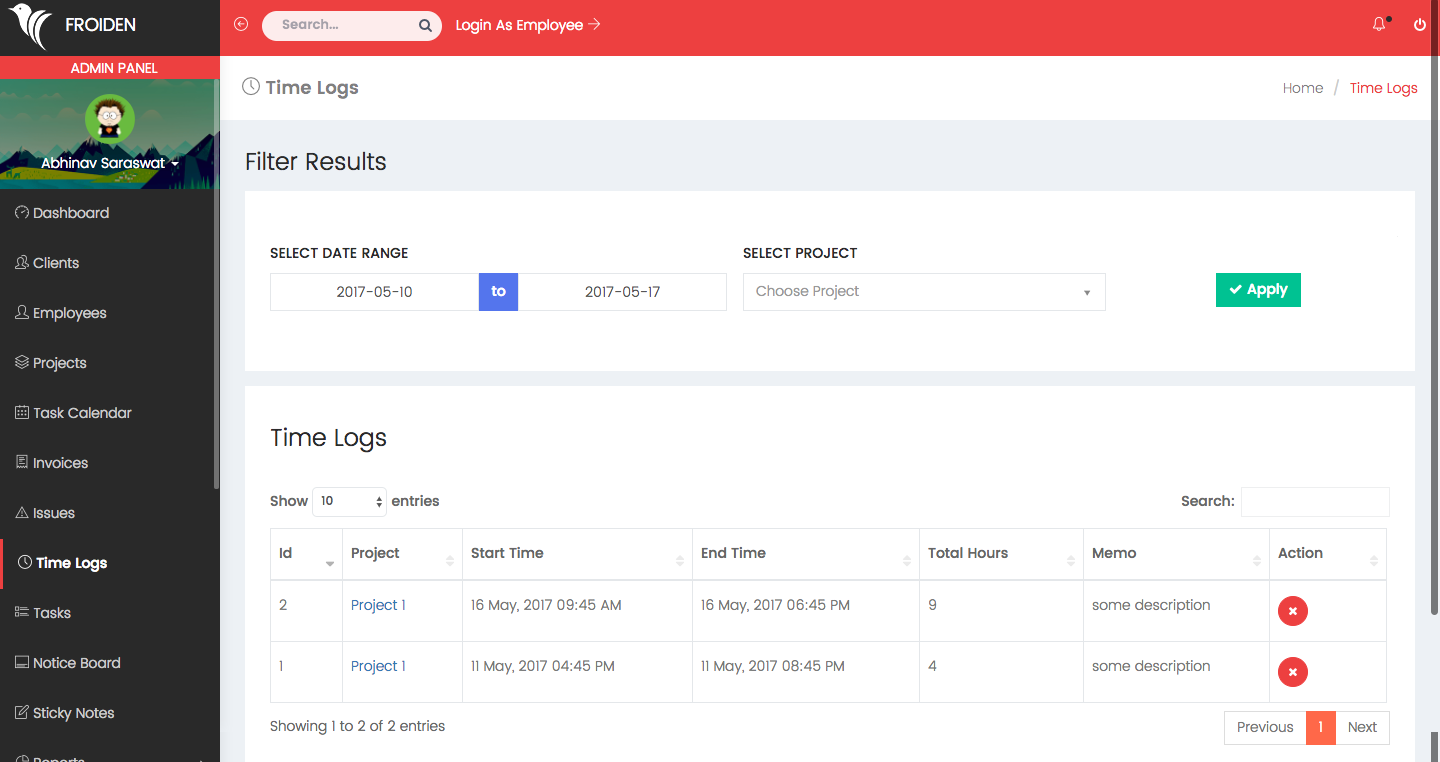
Time Logs
It shows the time logged by your employees on which they are working. you can filter the results by date range and for a particular project.
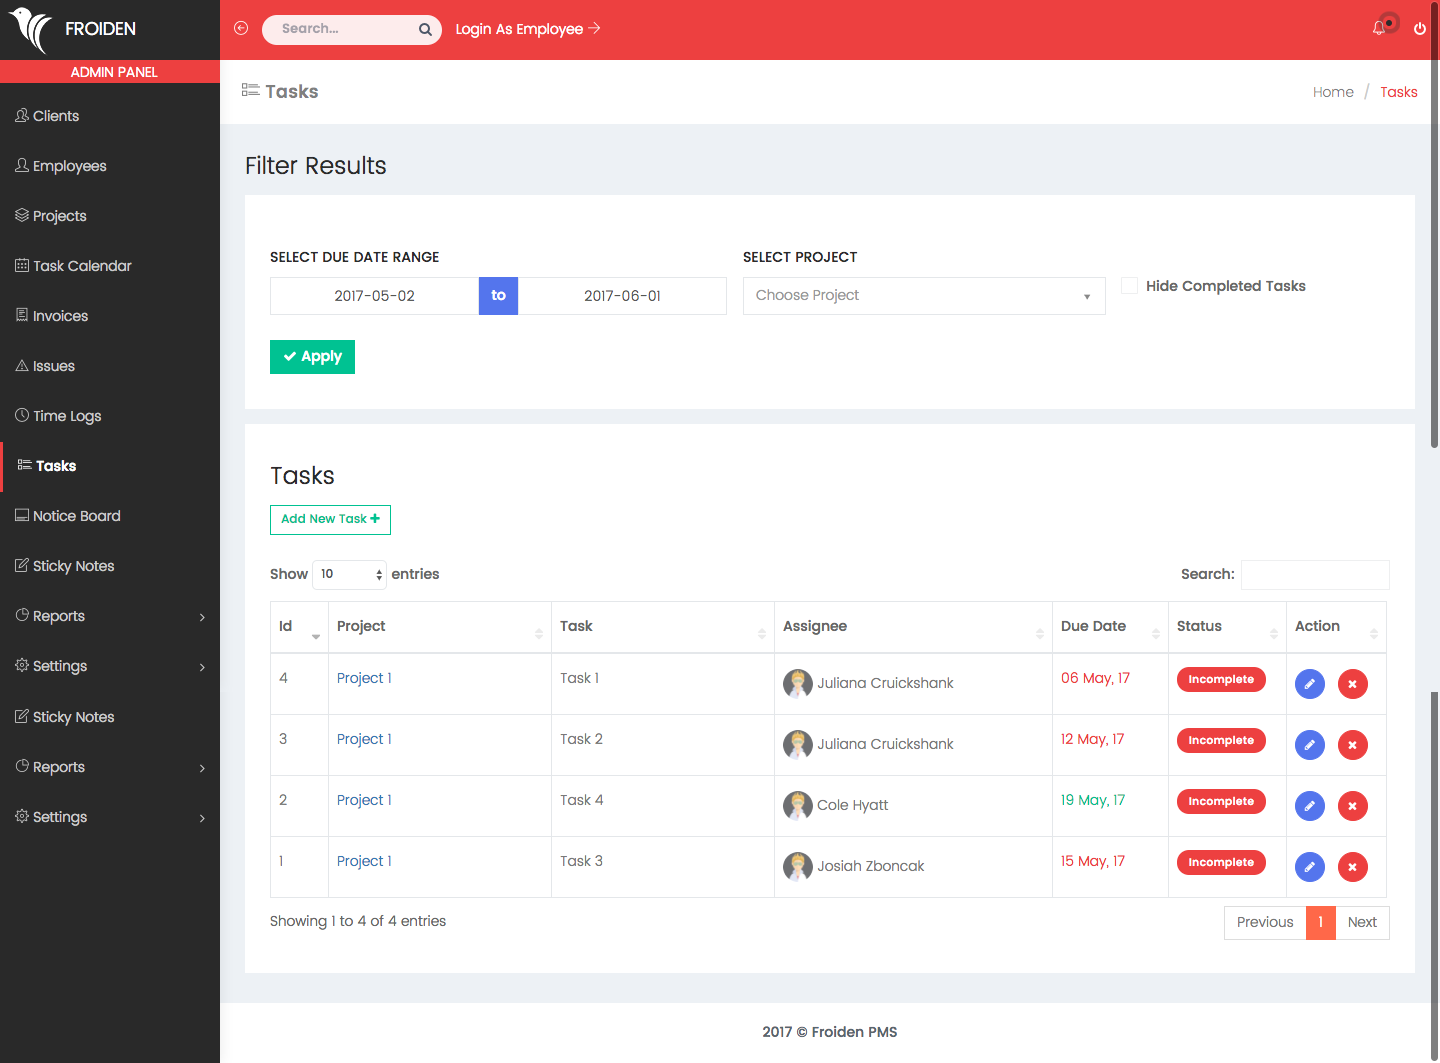
Tasks
It shows the list of all the tasks which you created for your employees. You can filter the results by date range and for a particular project.
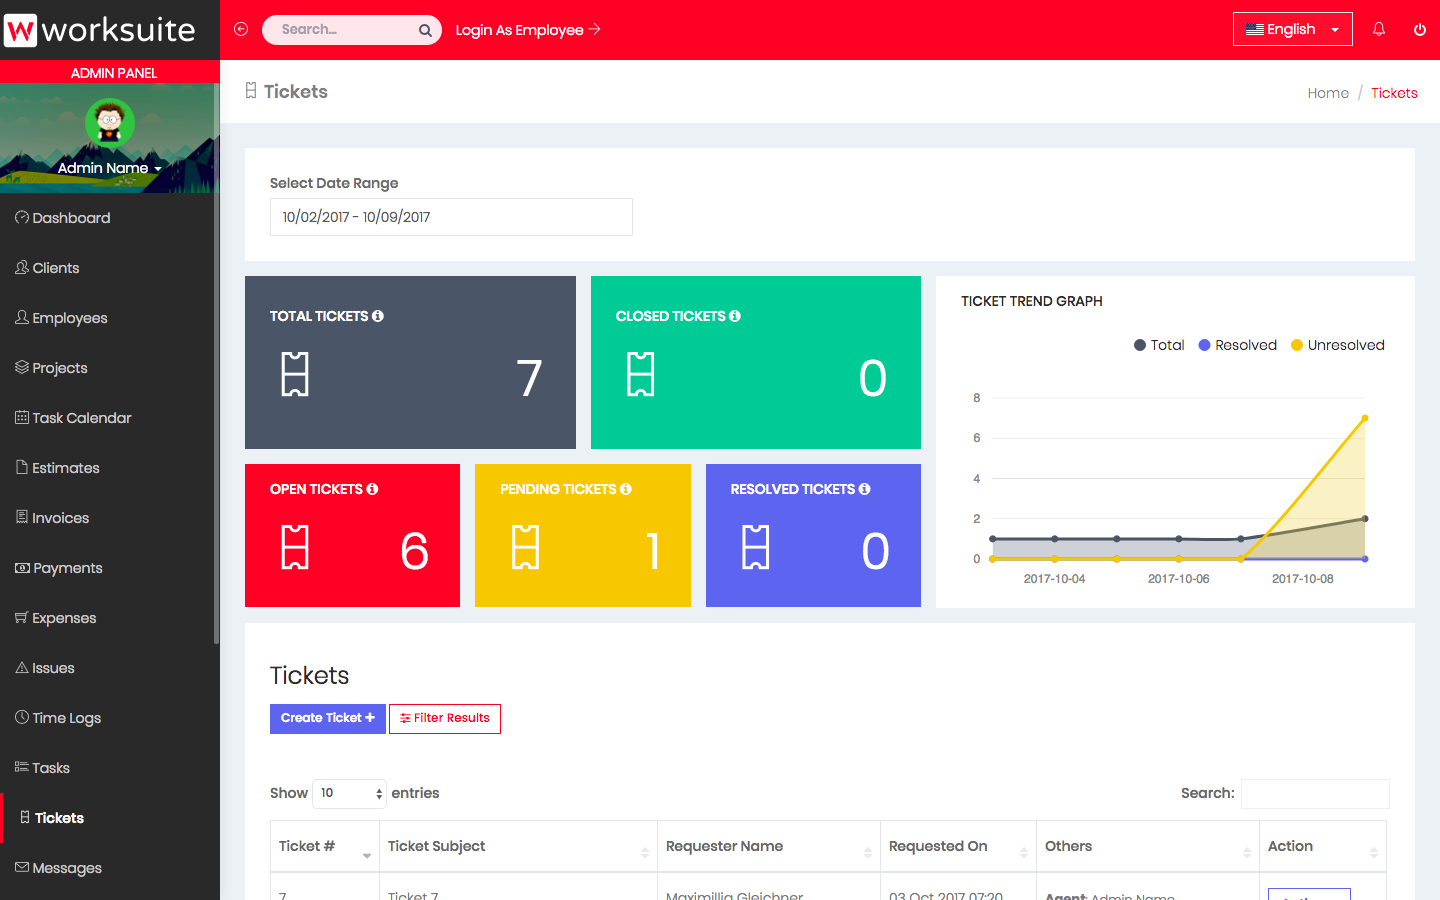
Tickets
You can create or update the tickets submitted by the users.
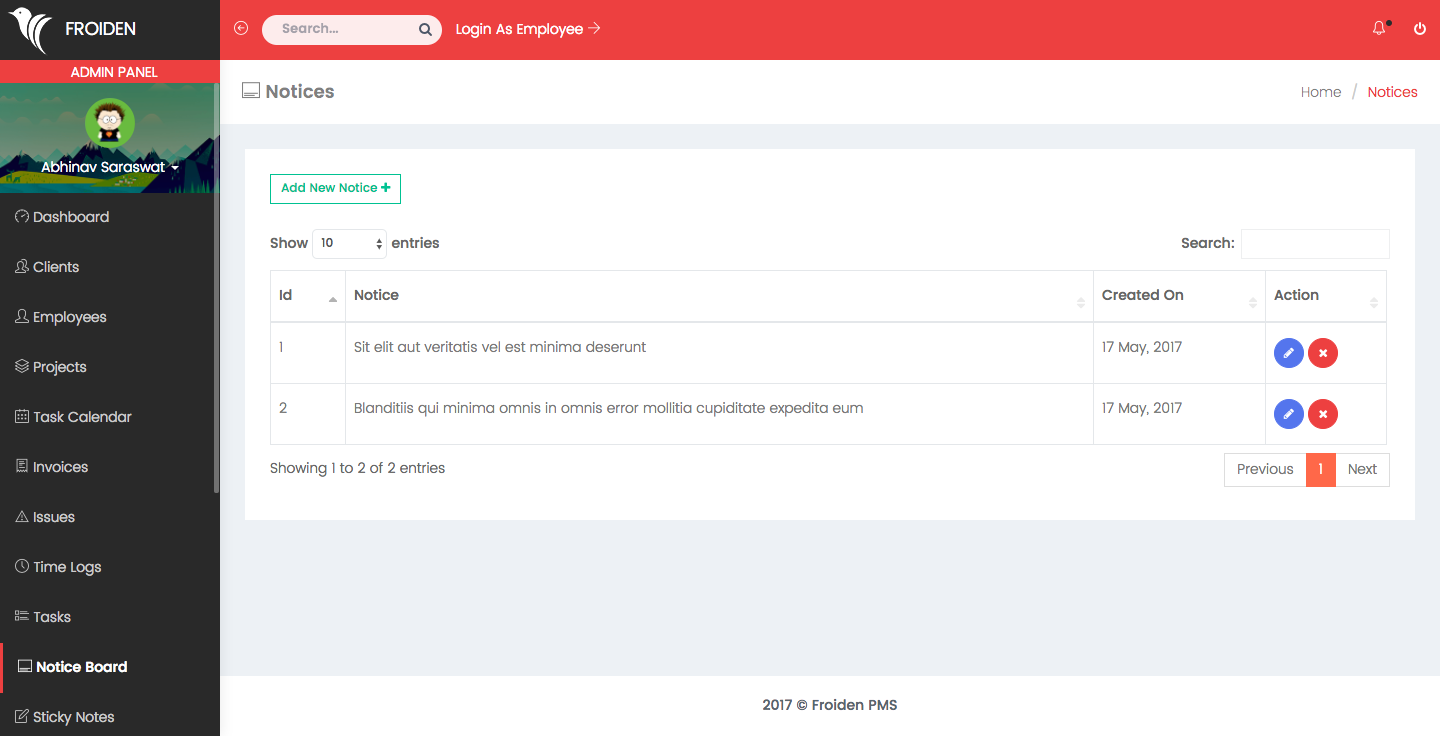
Notice Board
These are the notices which you can publish for your employees.
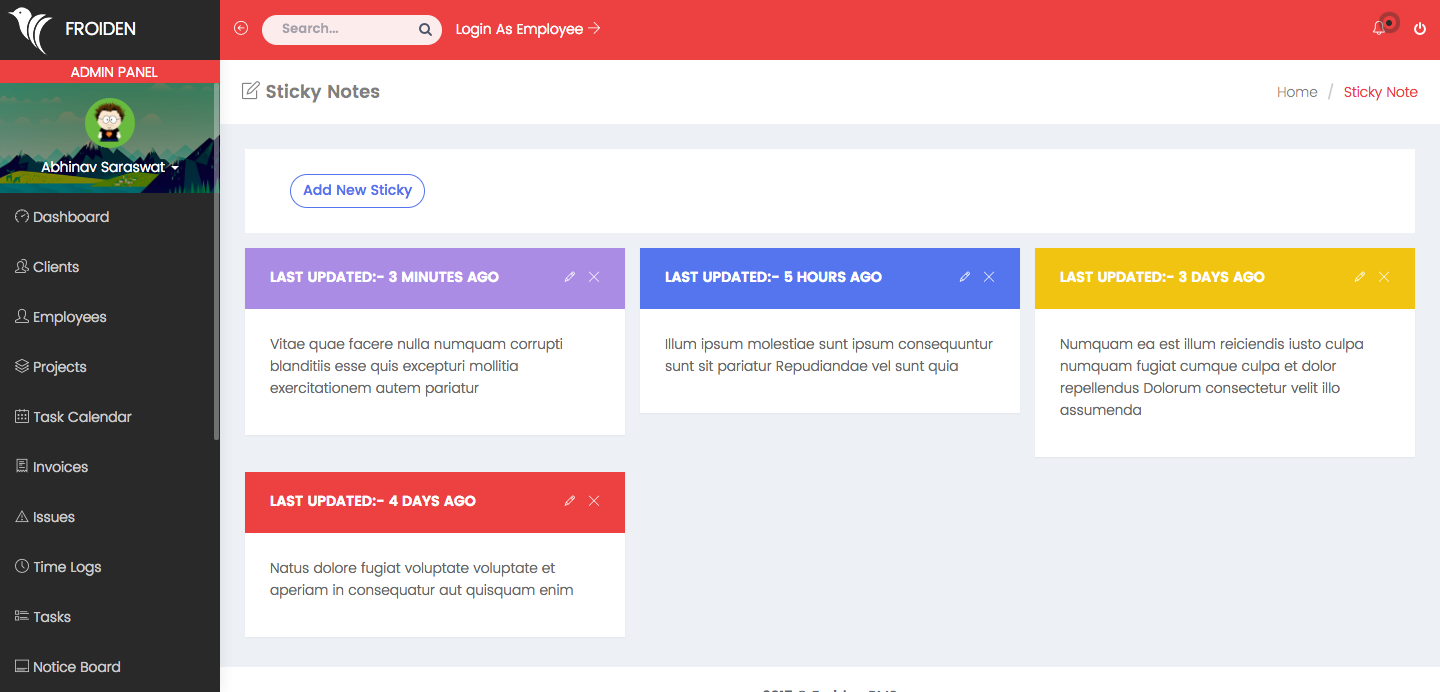
Sticky Notes
These are the personal notes which will not be seen by any other user.
Reports
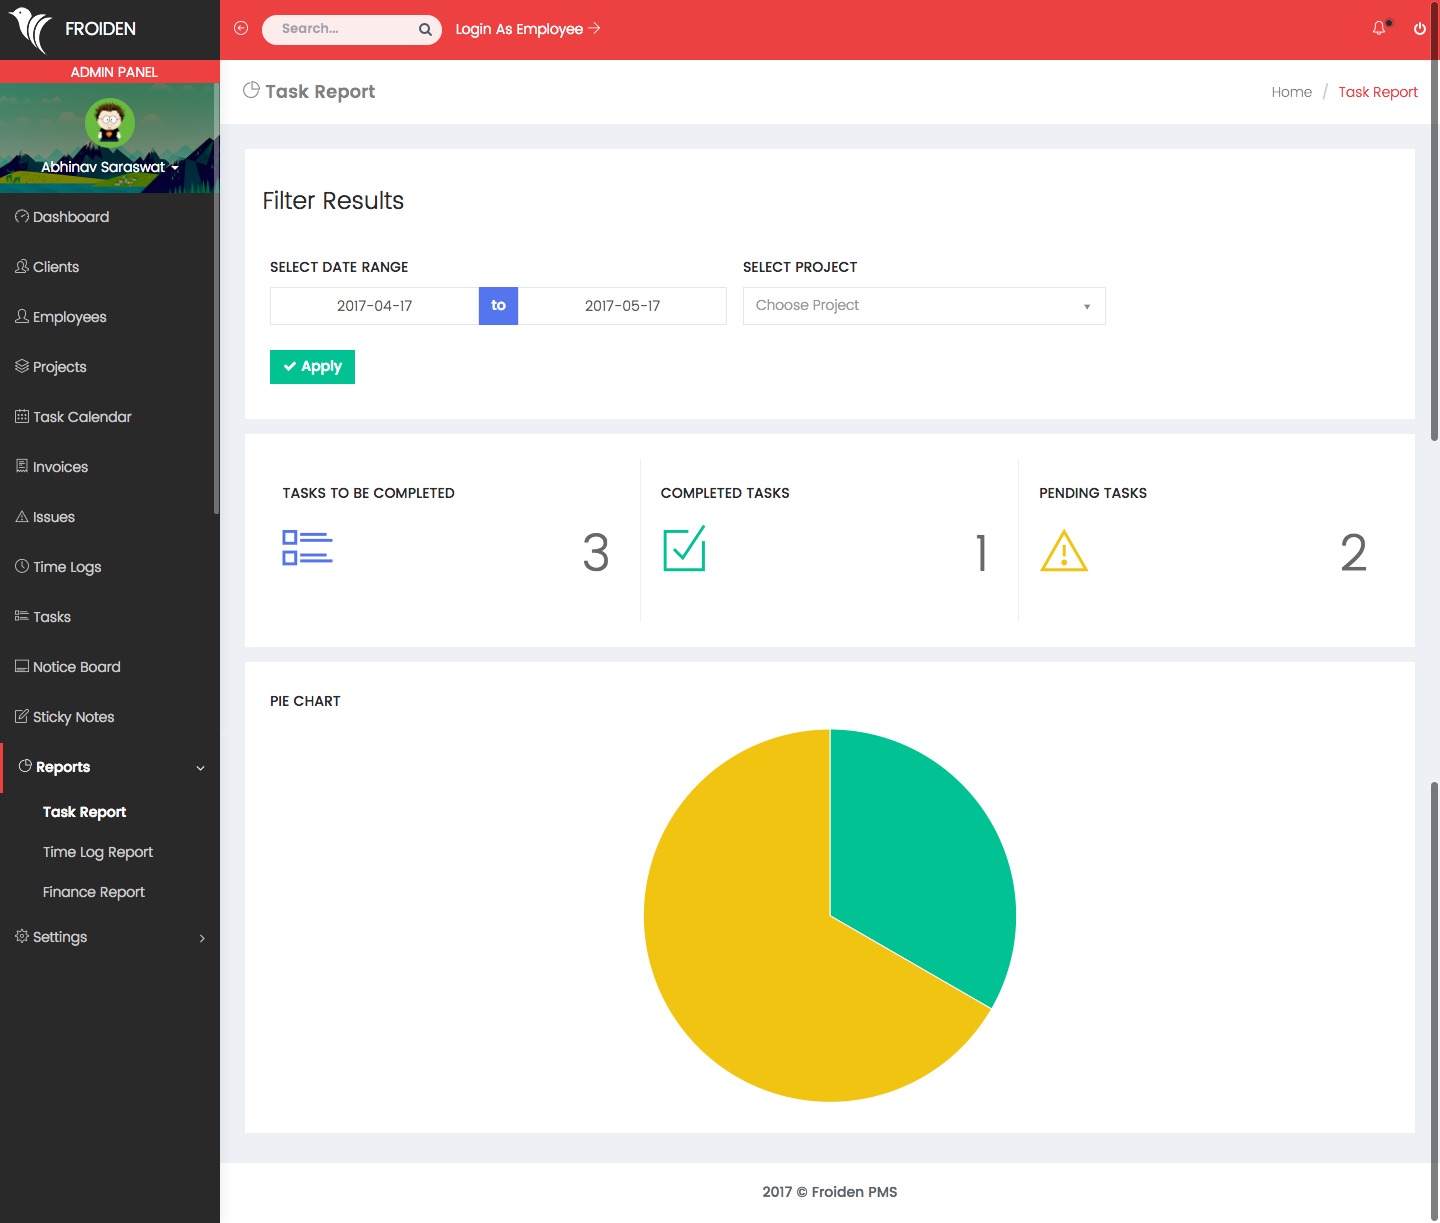
Task Report
You can view the report for your completed and incomplete tasks.
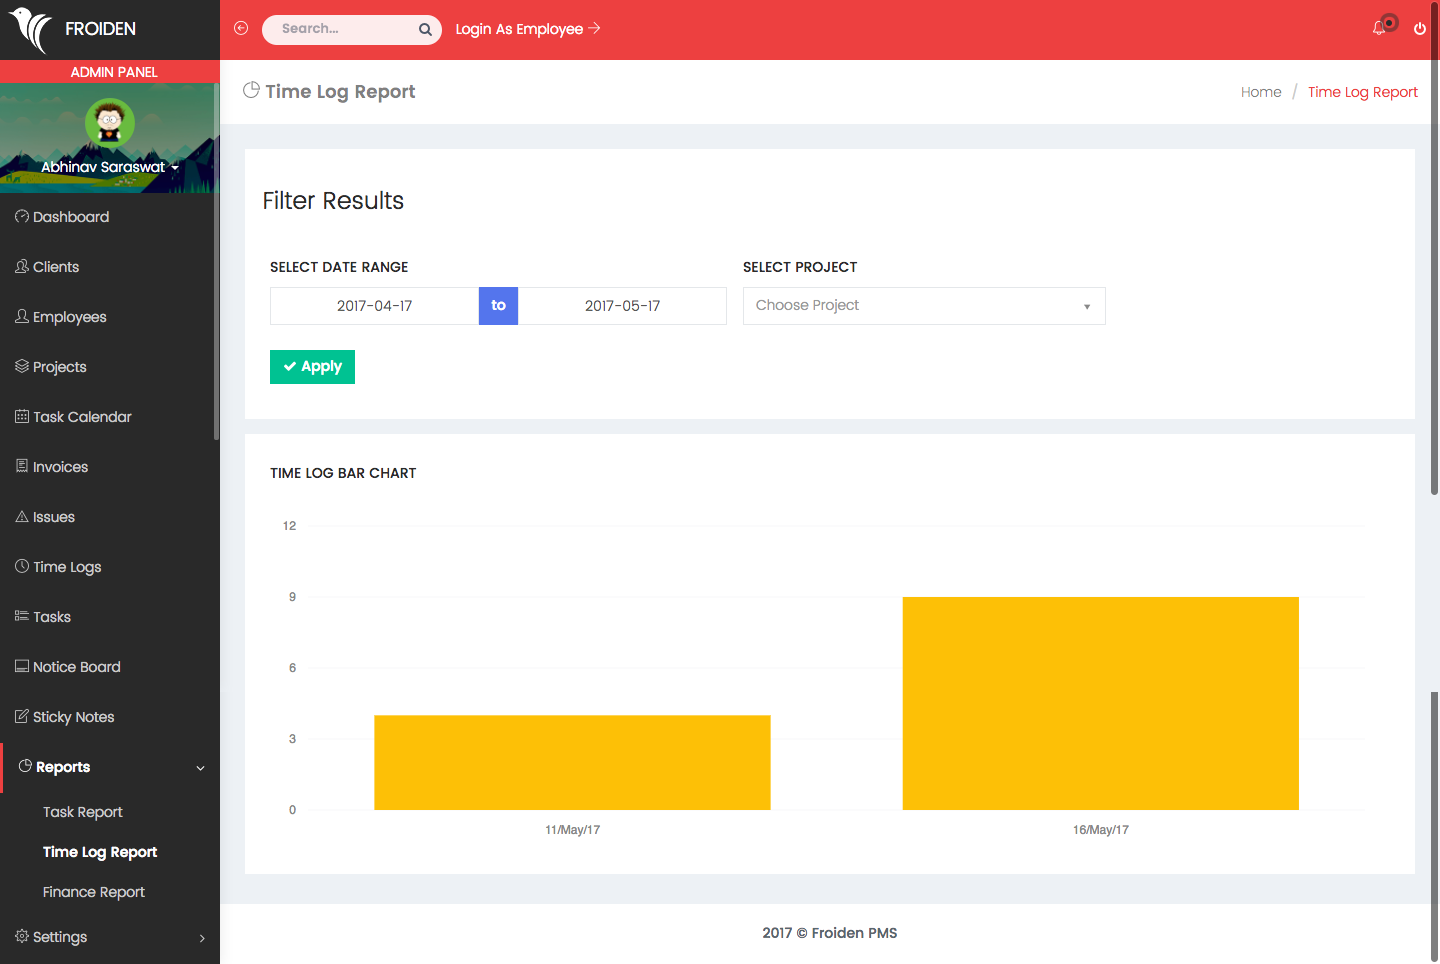
Time Log Report
It shows the report for no of hours logged according to the dates.
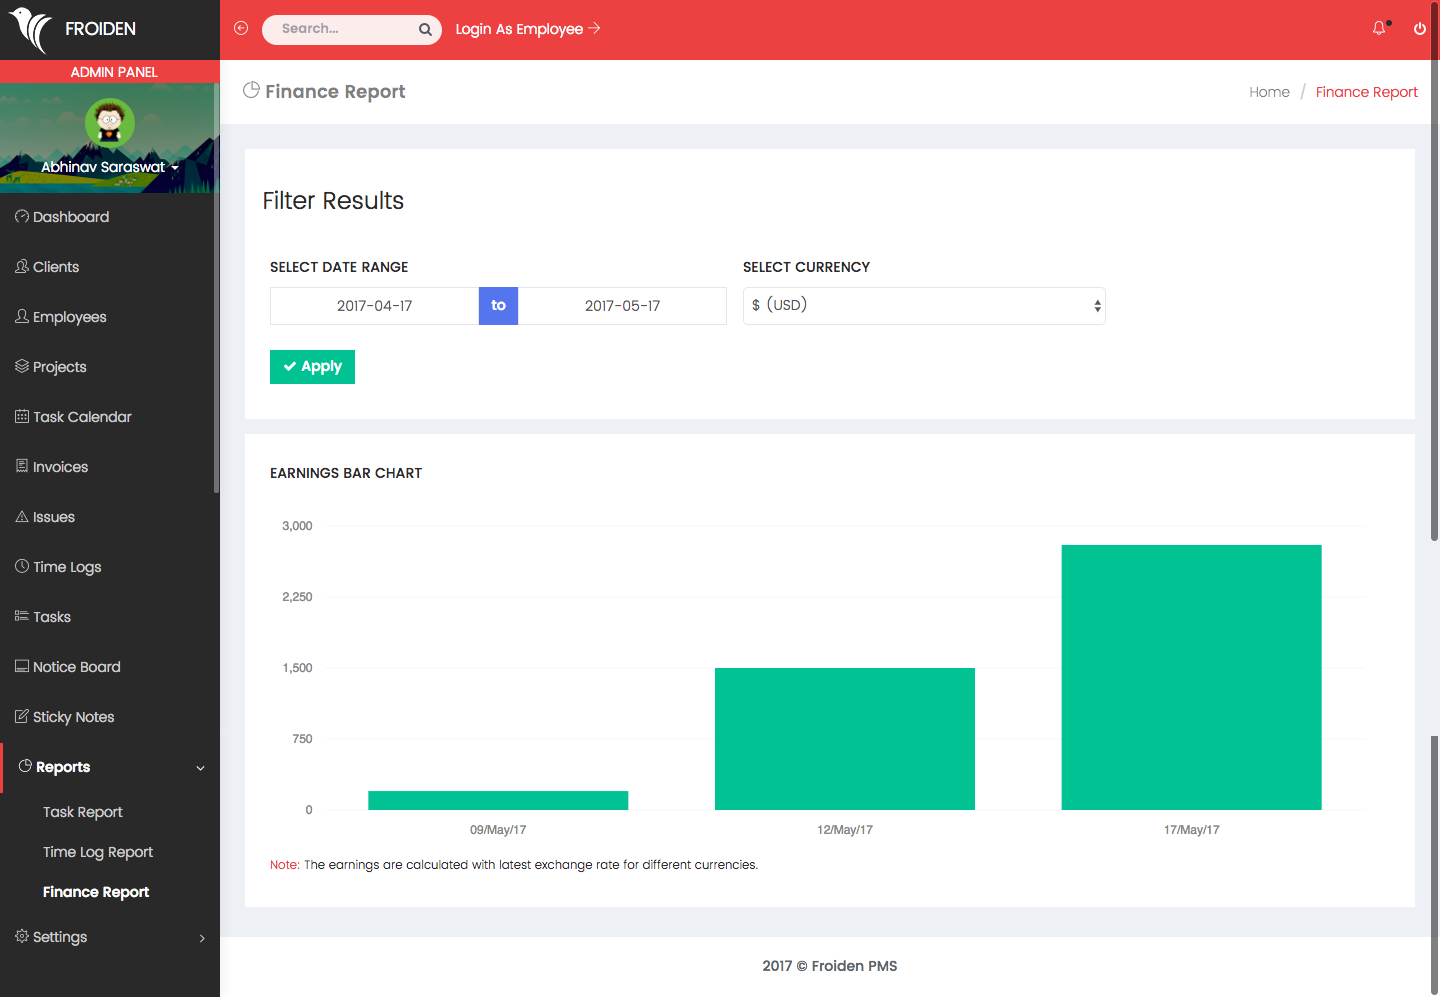
Finance Report
It shows the date wise earning you have earned. It gets the amount from paid invoices and shows the amount in your base currency (can be changed in settings).
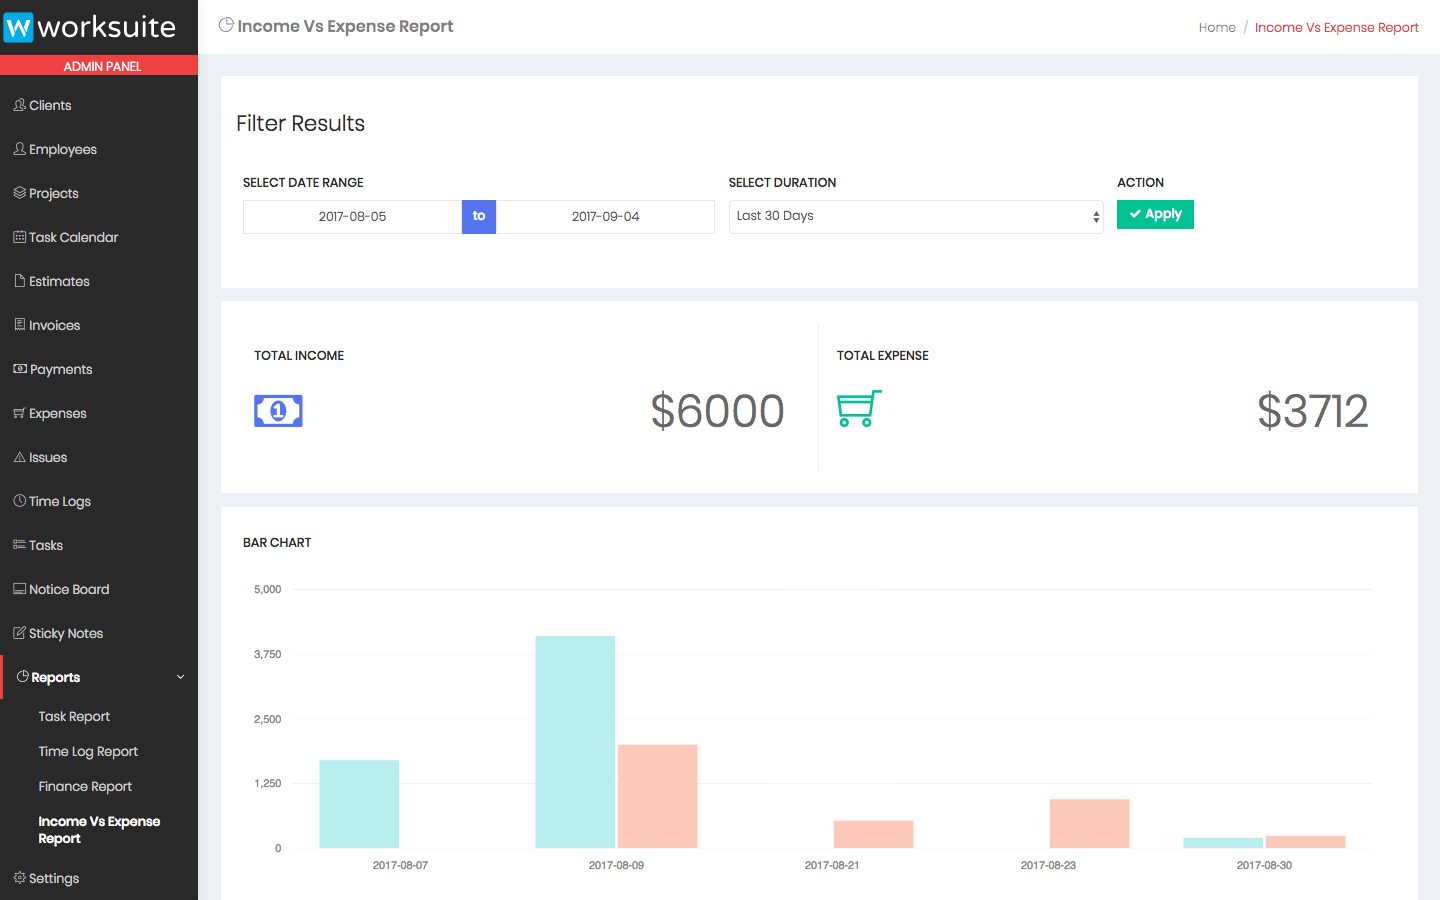
Income vs Expense Report
It shows the the report for the income vs expenses you have made for the duration you choose.
Settings
Account Settings
You can manage the basic settings about your organisation here.

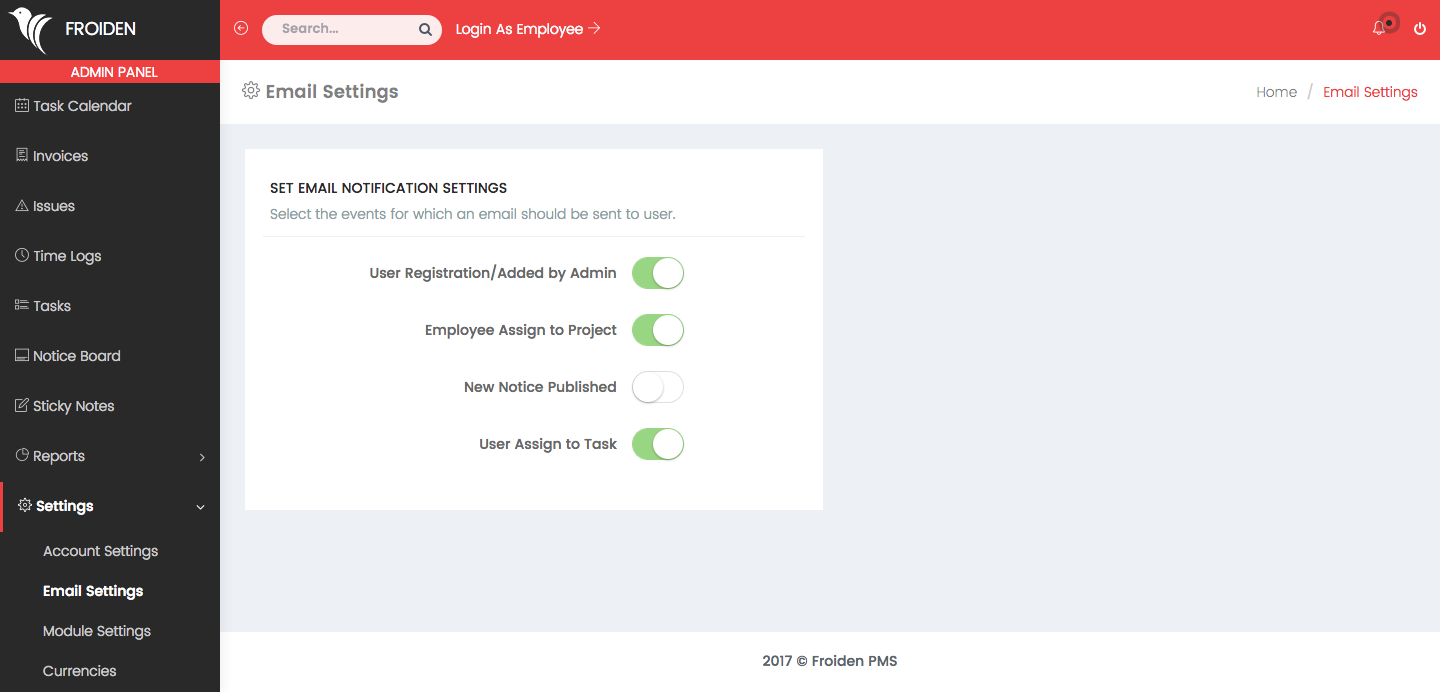
Email Settings
You can set your email preferences for your clients and employees.
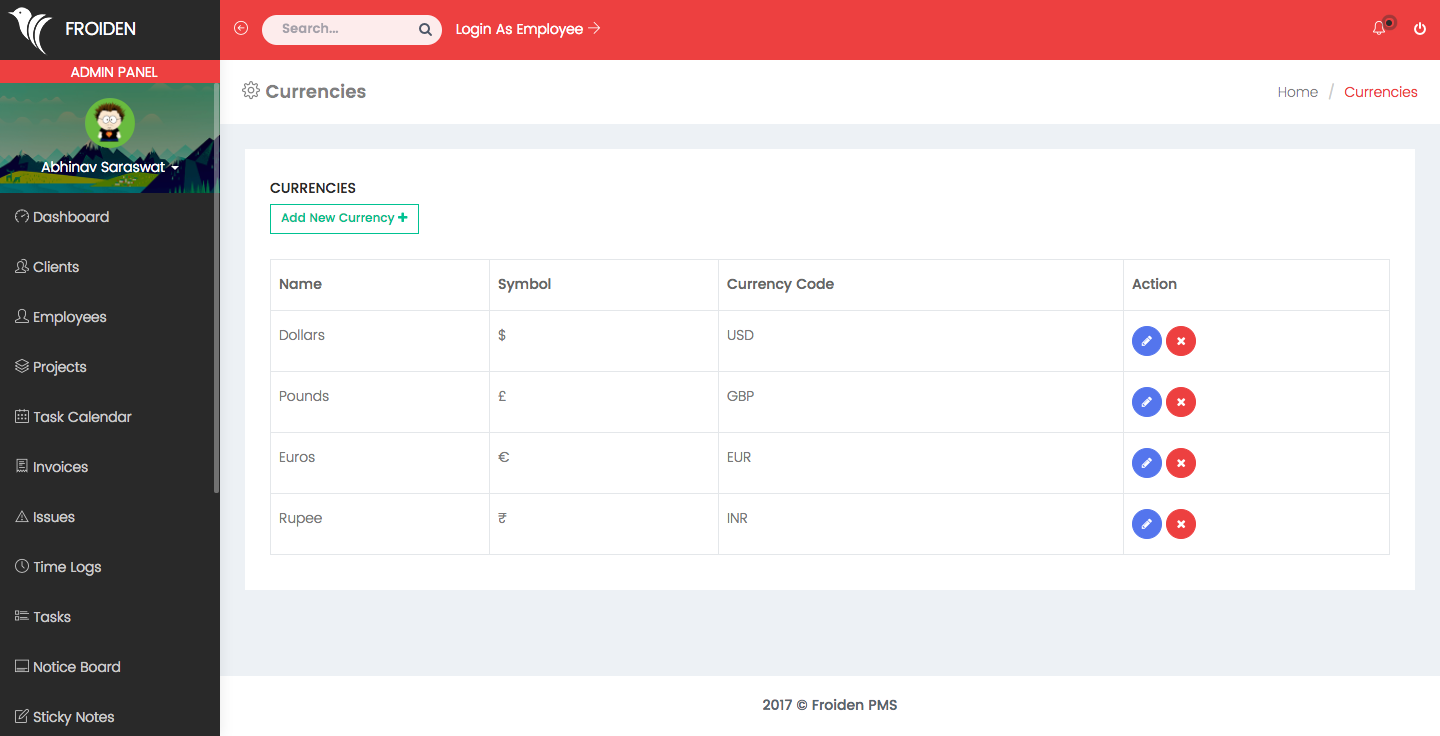
Currency Settings
You can add/delete the currencies in which you can receive the payments from the client.
Theme Settings
You can change the look of the all the panels as per your choice from the theme settings section.

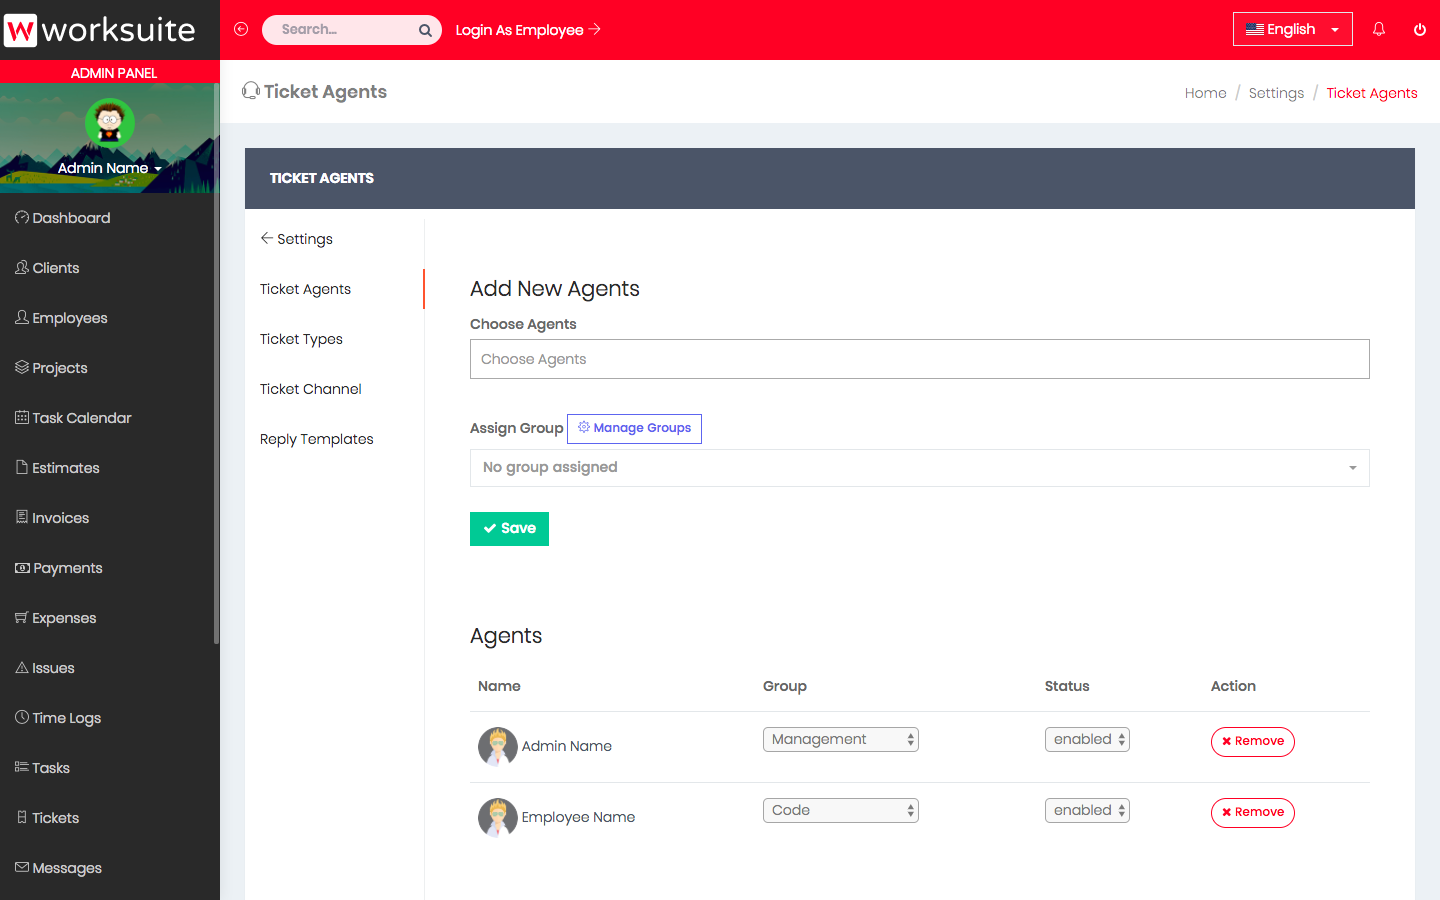
Ticket Settings
Set the settings related to support tickets.
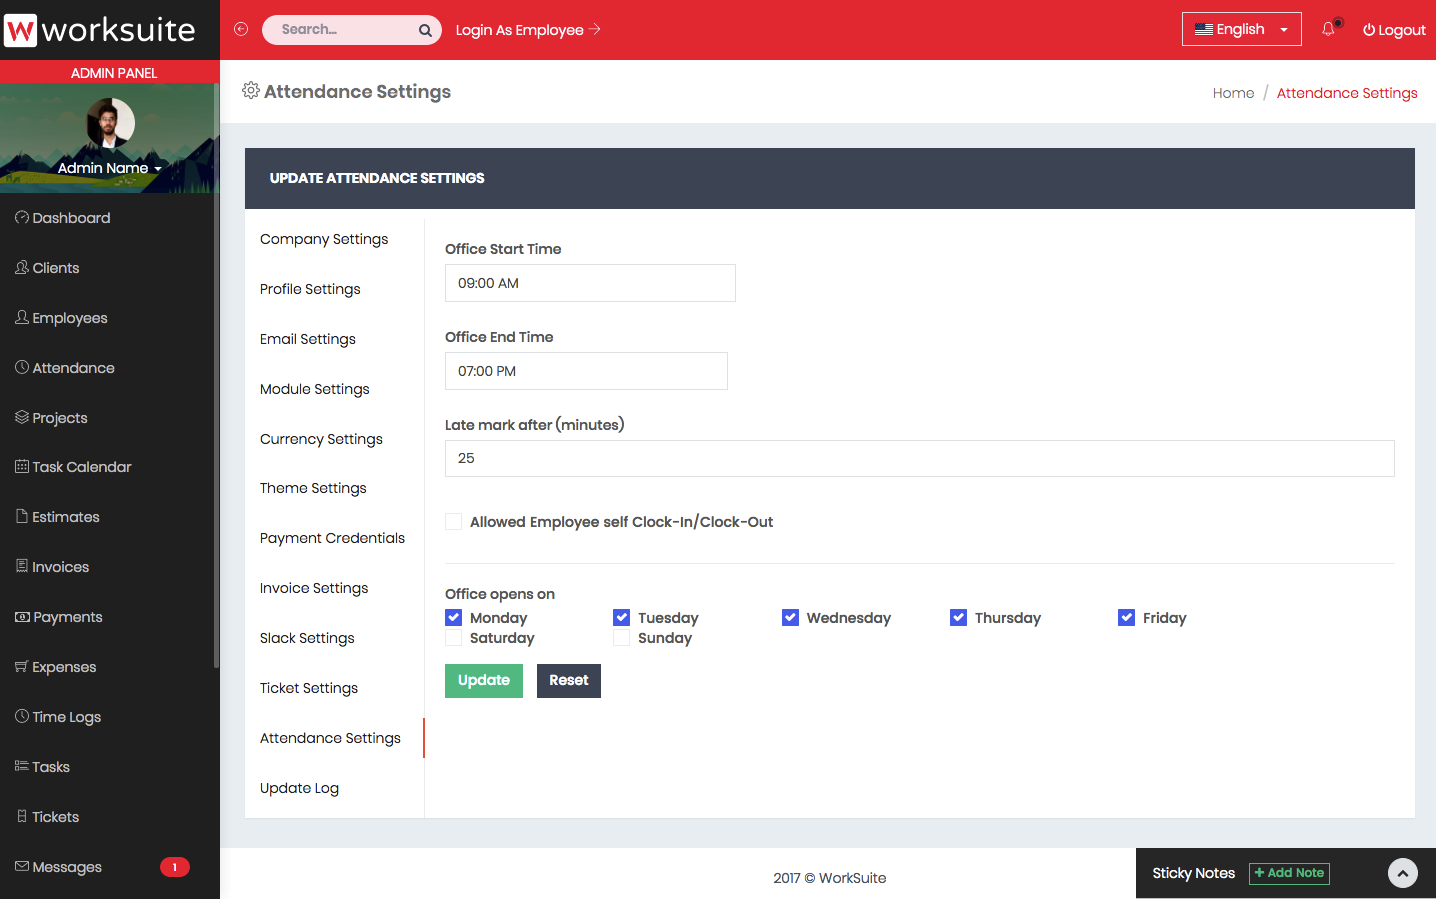
Attendance Settings
Set the settings related to employee attendance.
Roles & Permissions Settings
Create roles and assign permissions for users.

Employee Panel
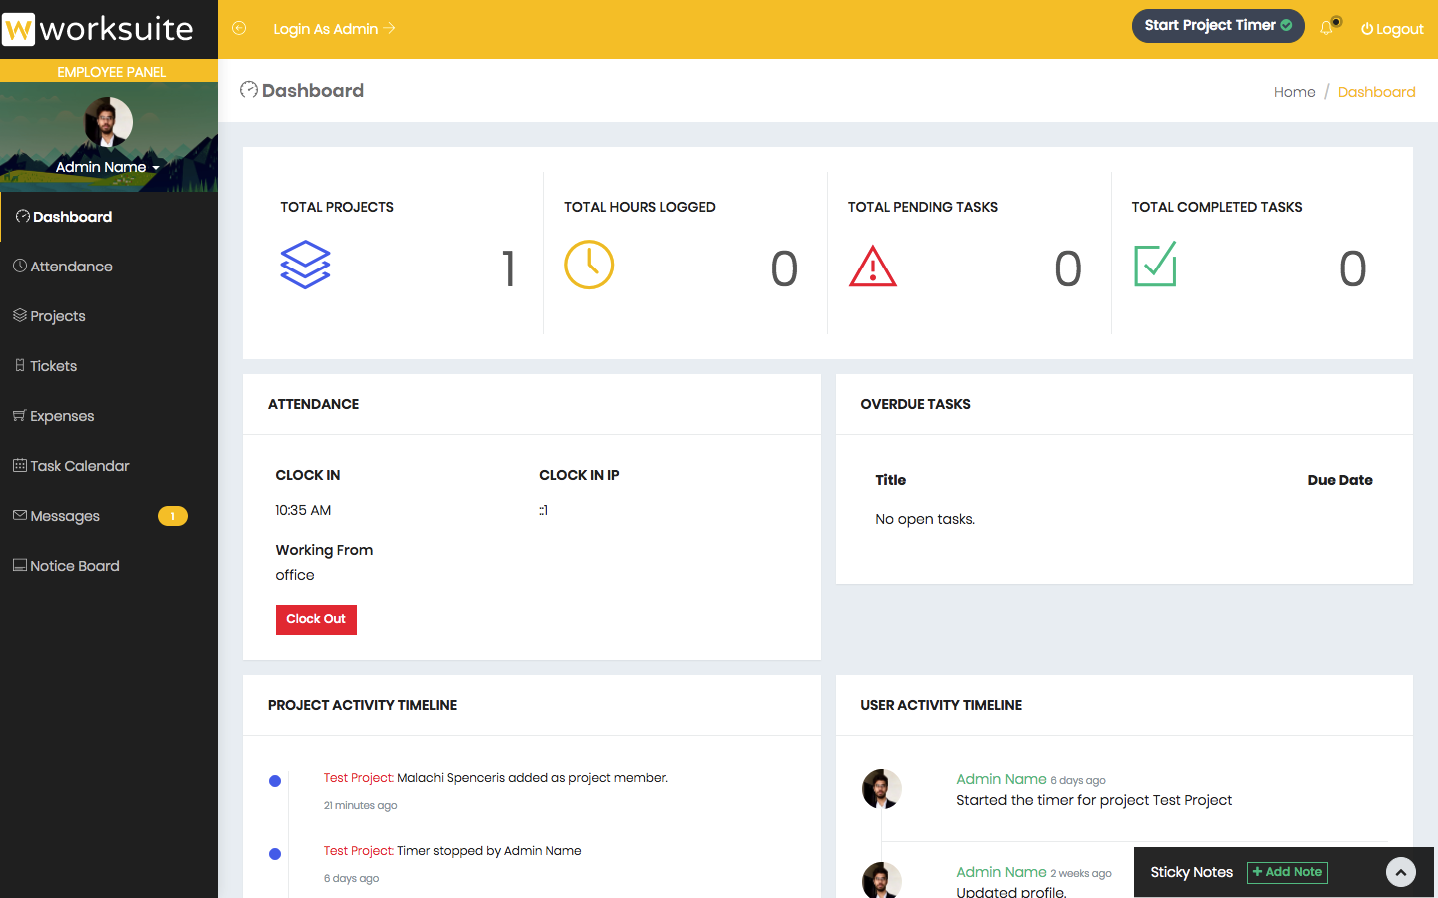
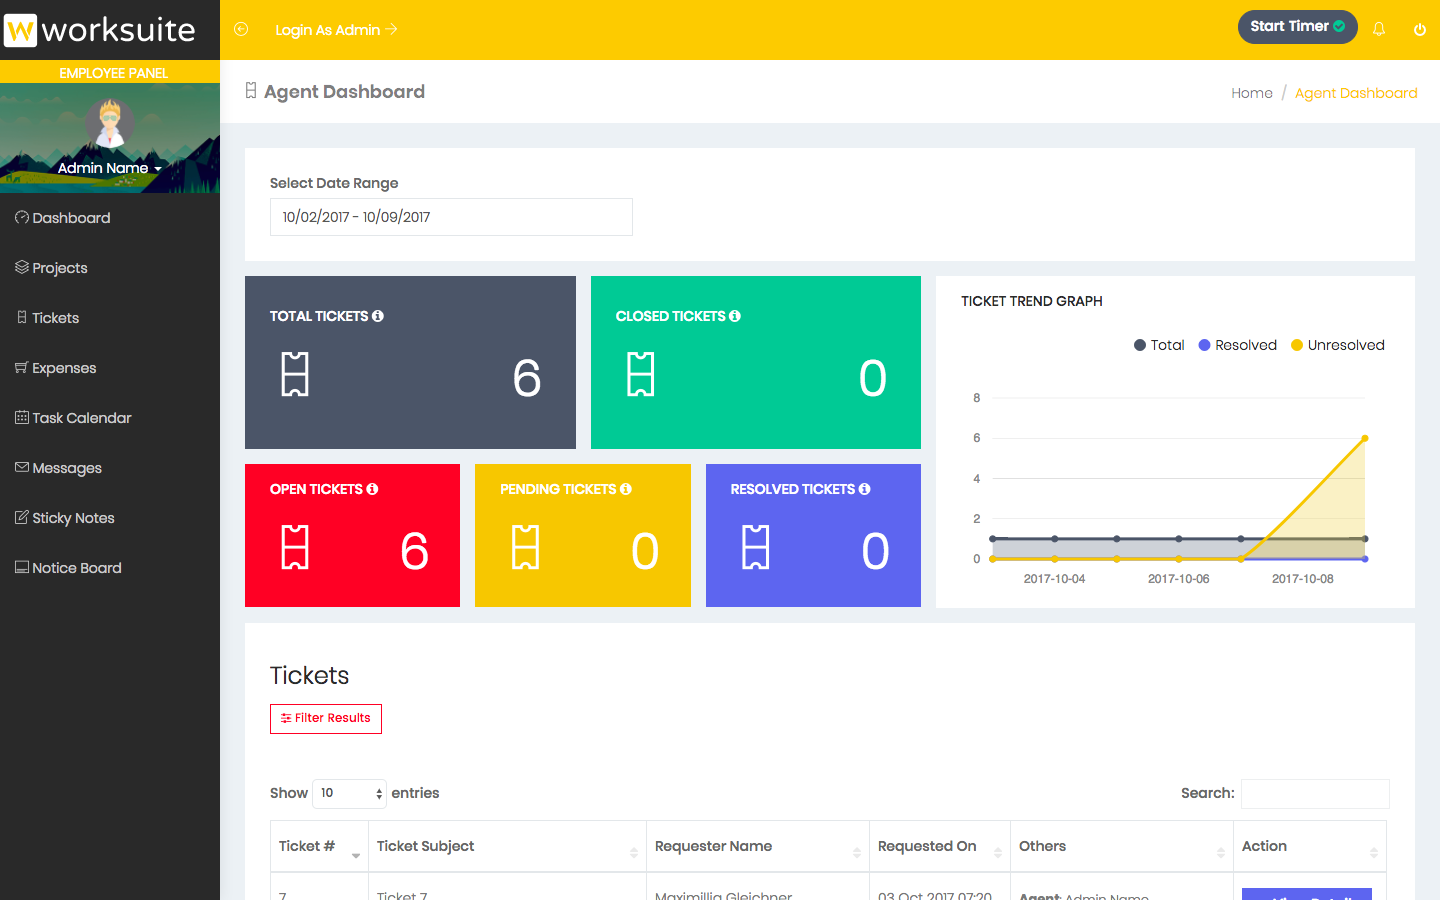
Dashboard
Employee dashboard shows important information about employee's projects, tasks, and time logs.
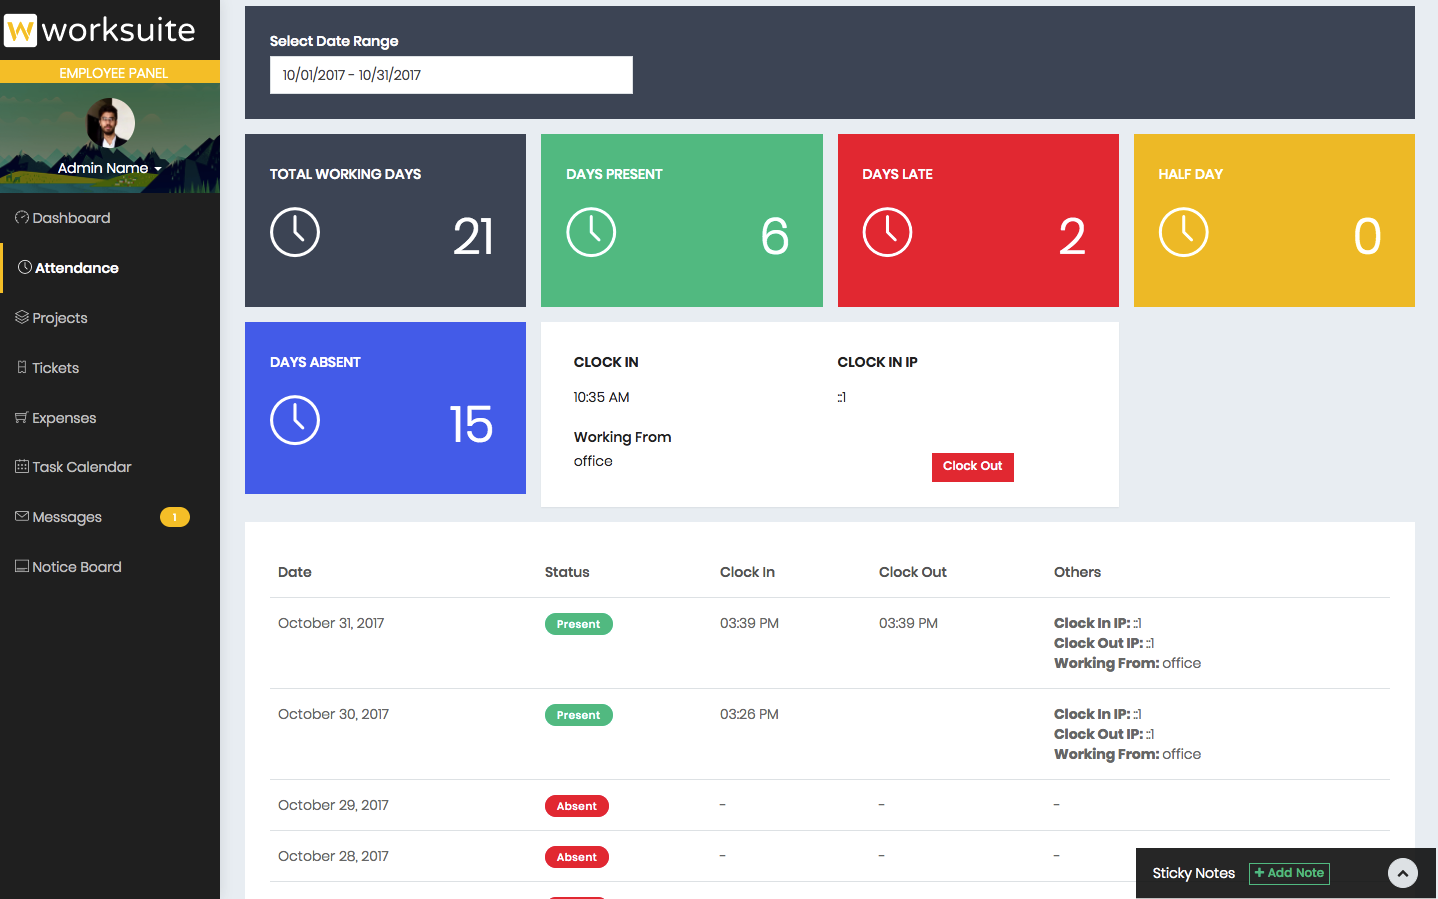
Attendance
Employee dashboard shows his attendance details for a date range.
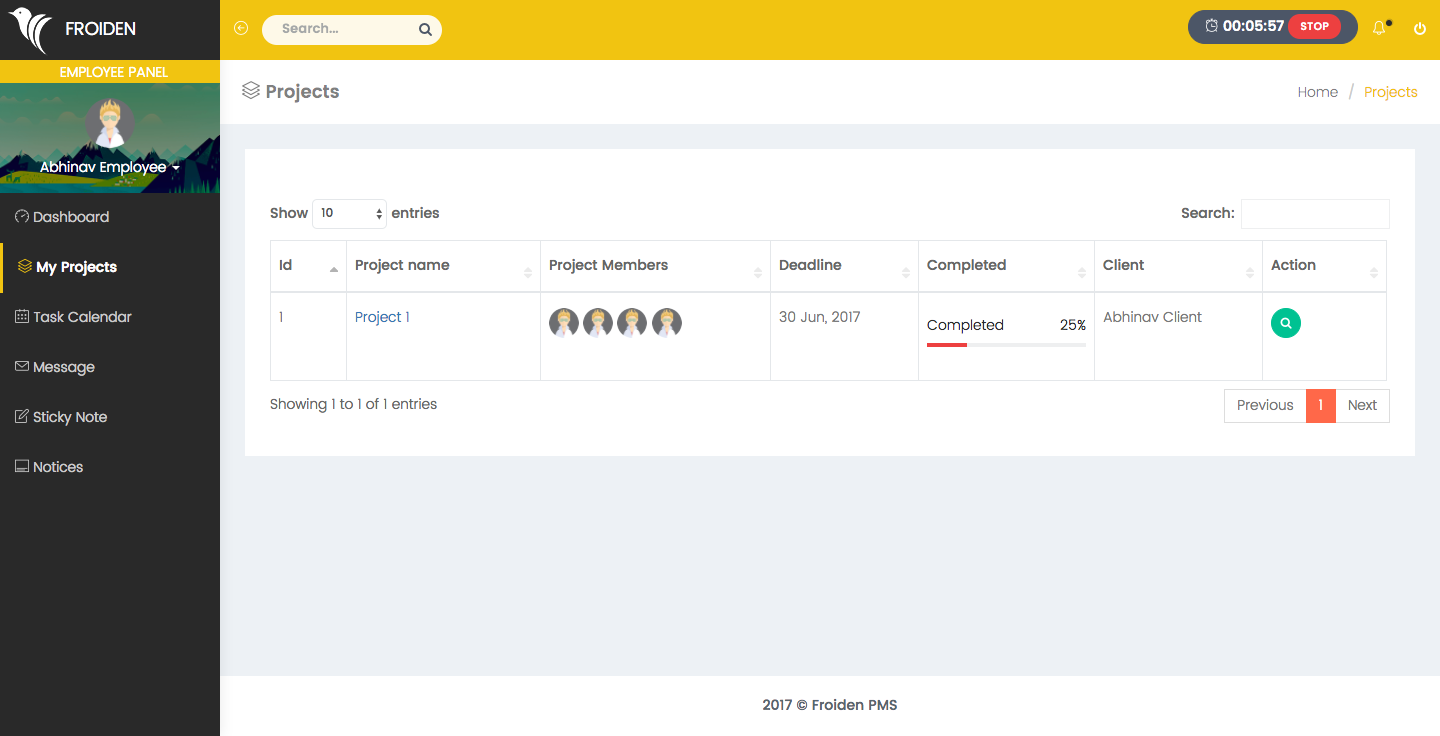
Projects
It shows the list of projects on which employee is working on. An employee can view the details by clicking on the project name.
Tickets
View tickets assigned to employees.
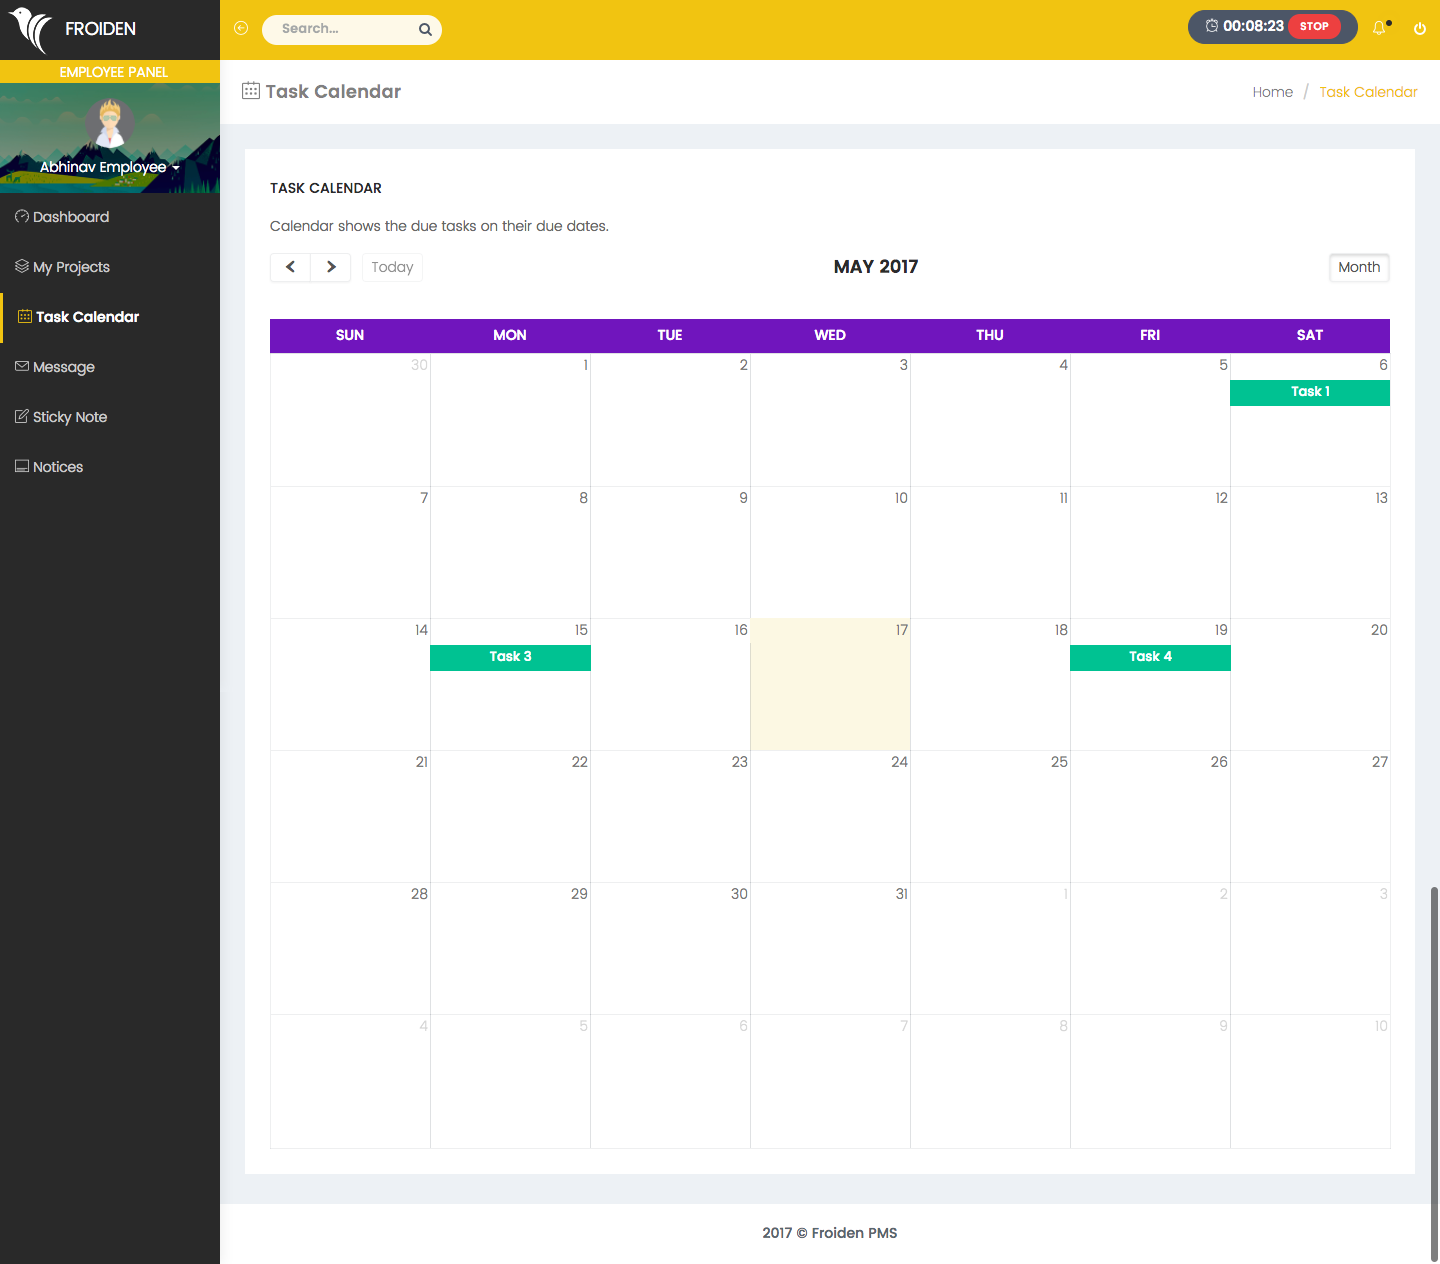
Task Calendar
It shows all the tasks which an employee has been assigned on a calendar according to their due dates.
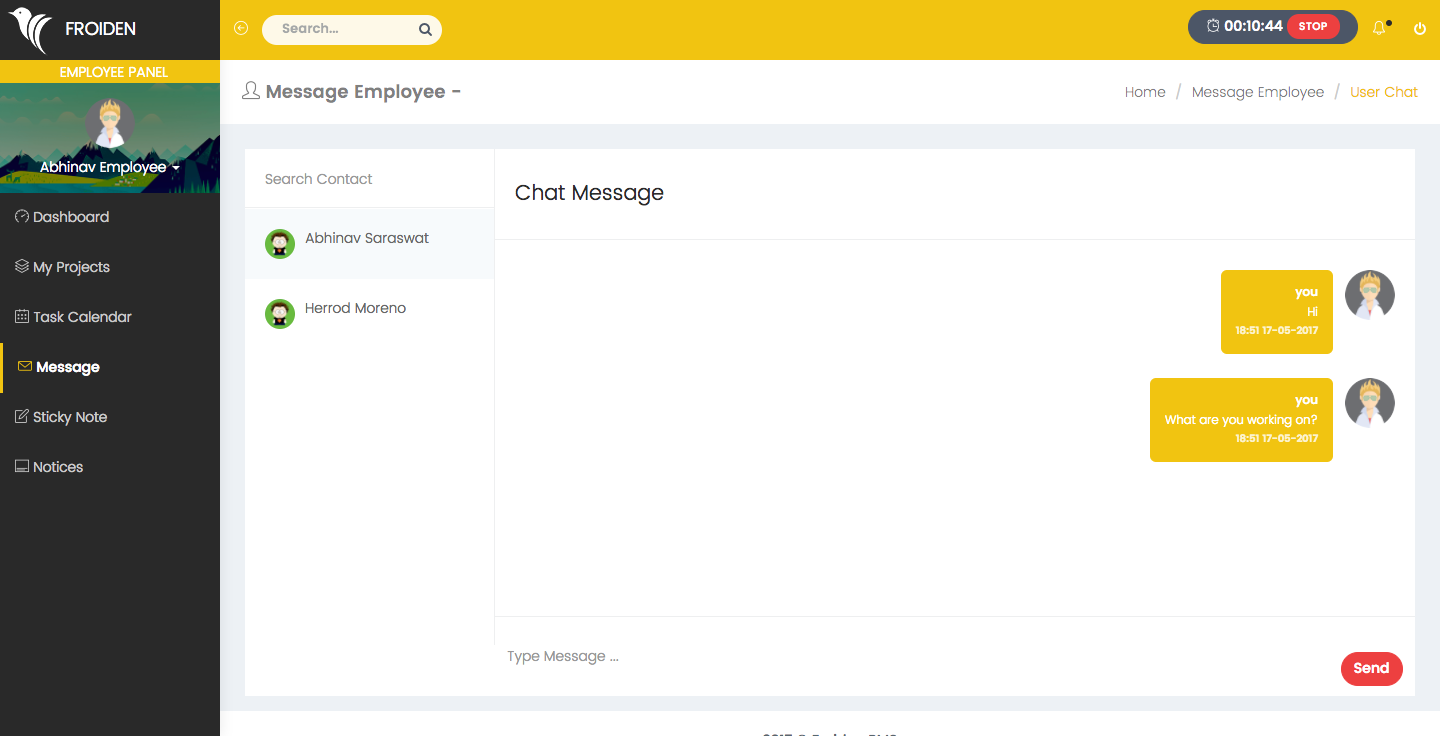
Messages
Employees can chat with their other team members.
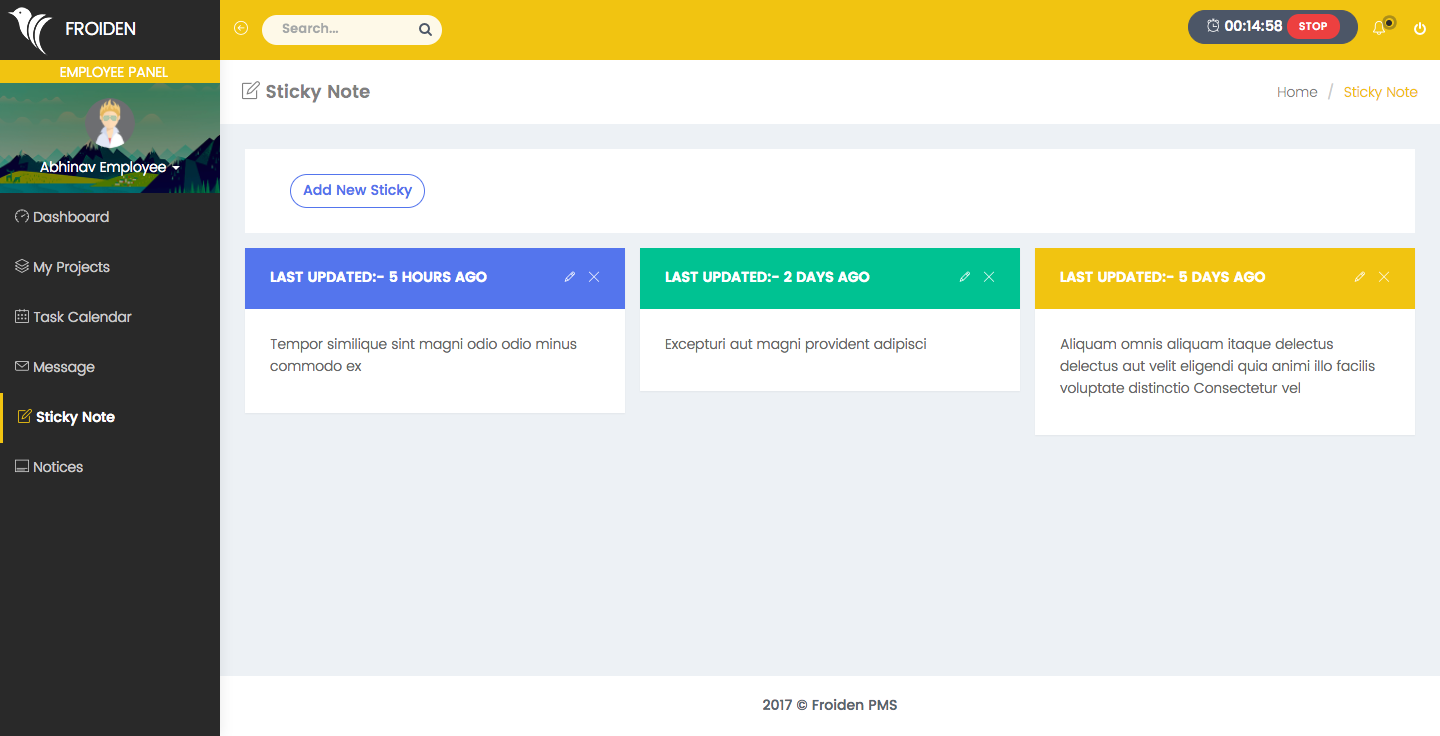
Sticky Notes
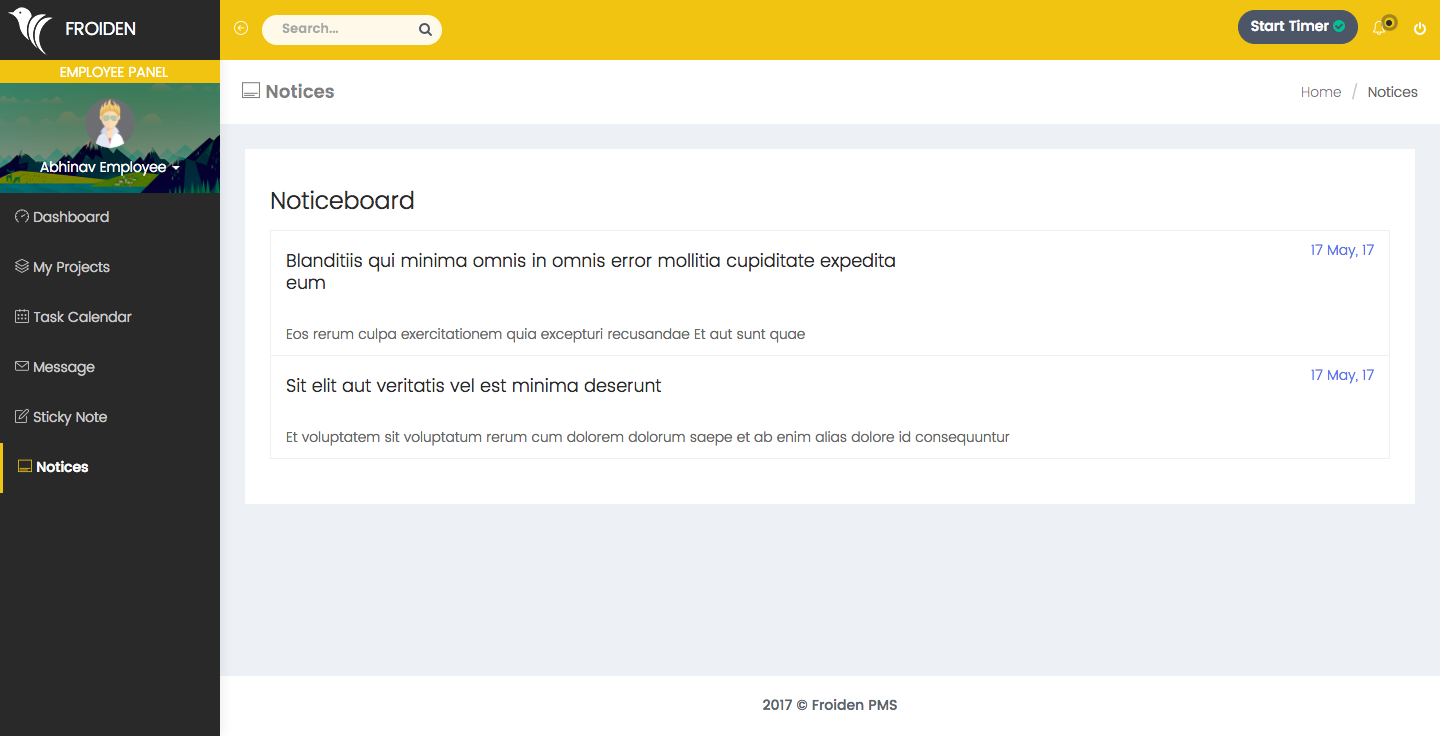
Notices
It shows the list of all notices which are published by admin for the team.
Client Panel
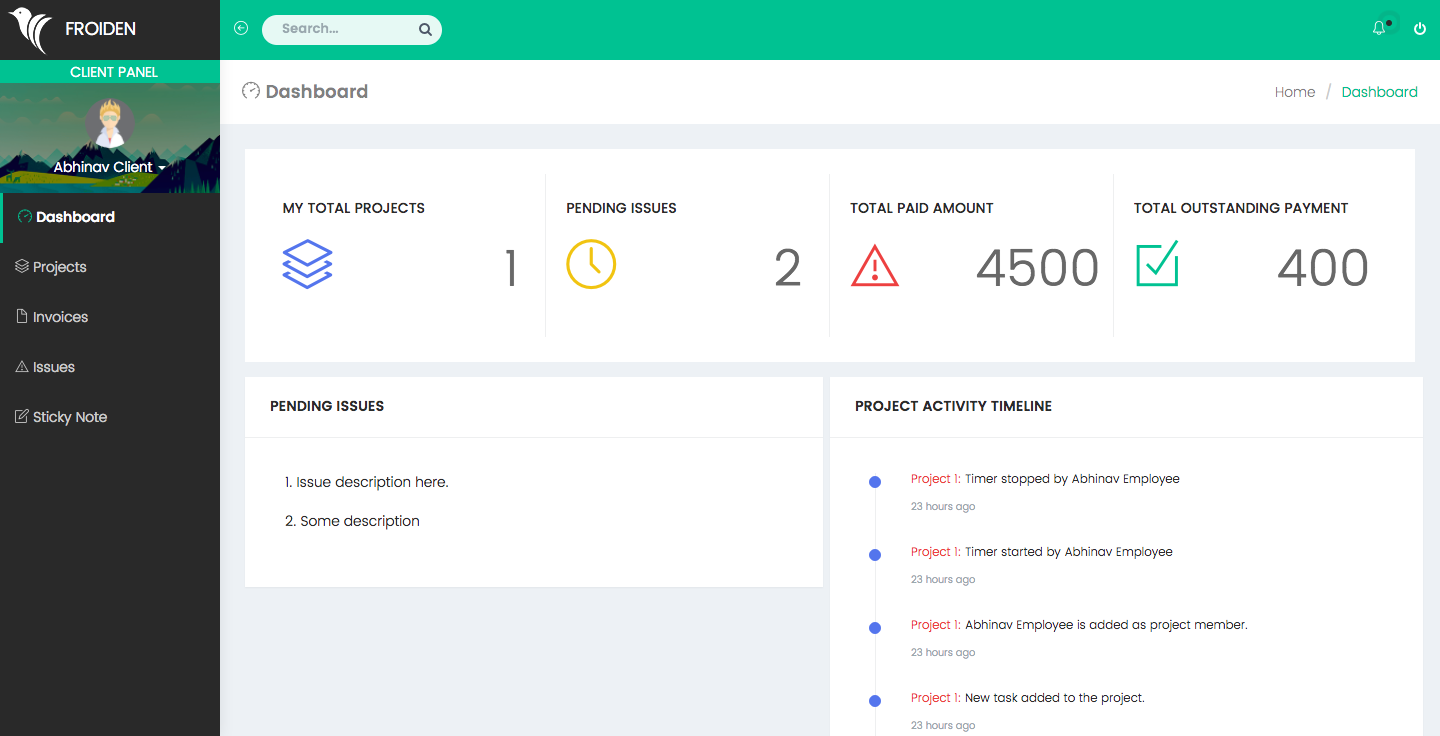
Dashboard
Client dashboard shows important information about client projects, issues, and payments.
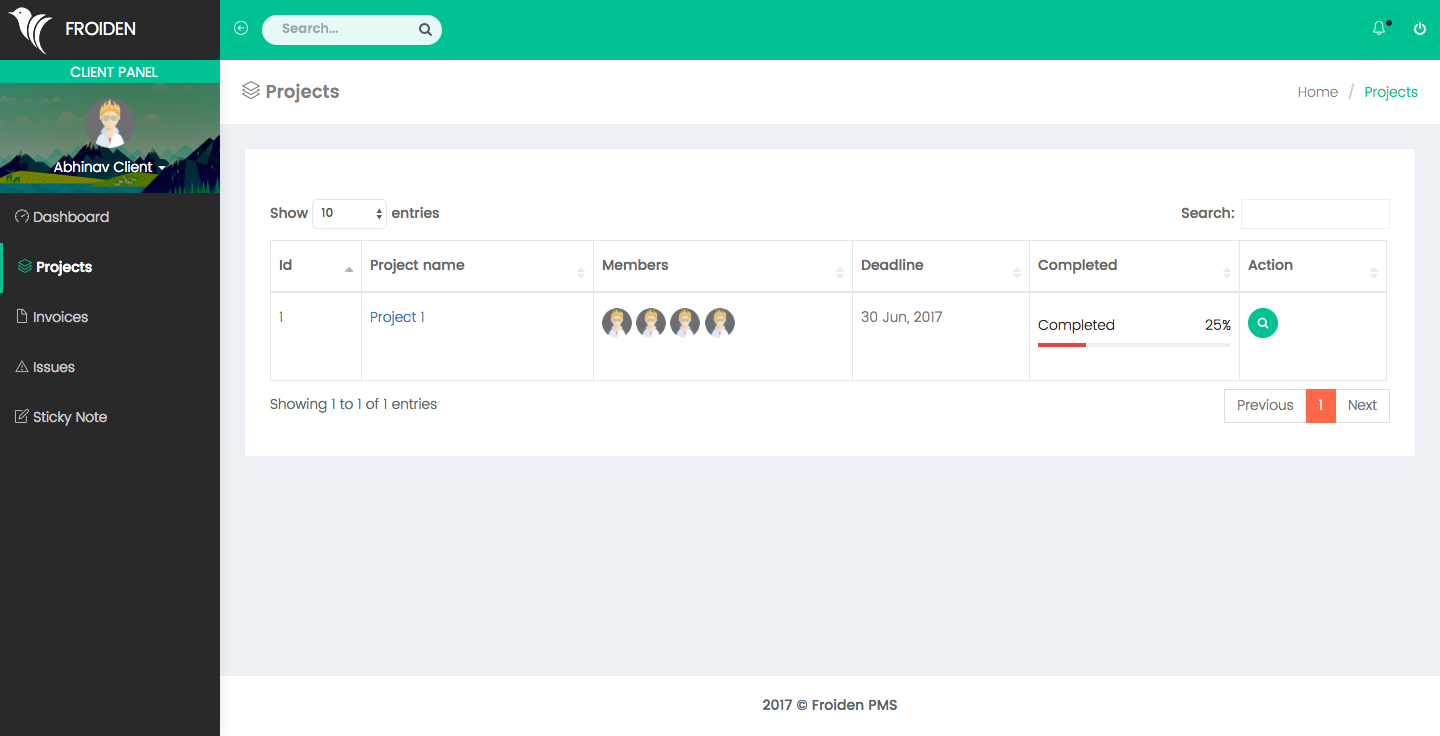
Projects
It shows the list of client's projects.
Tickets
It shows list of tickets requested by client.

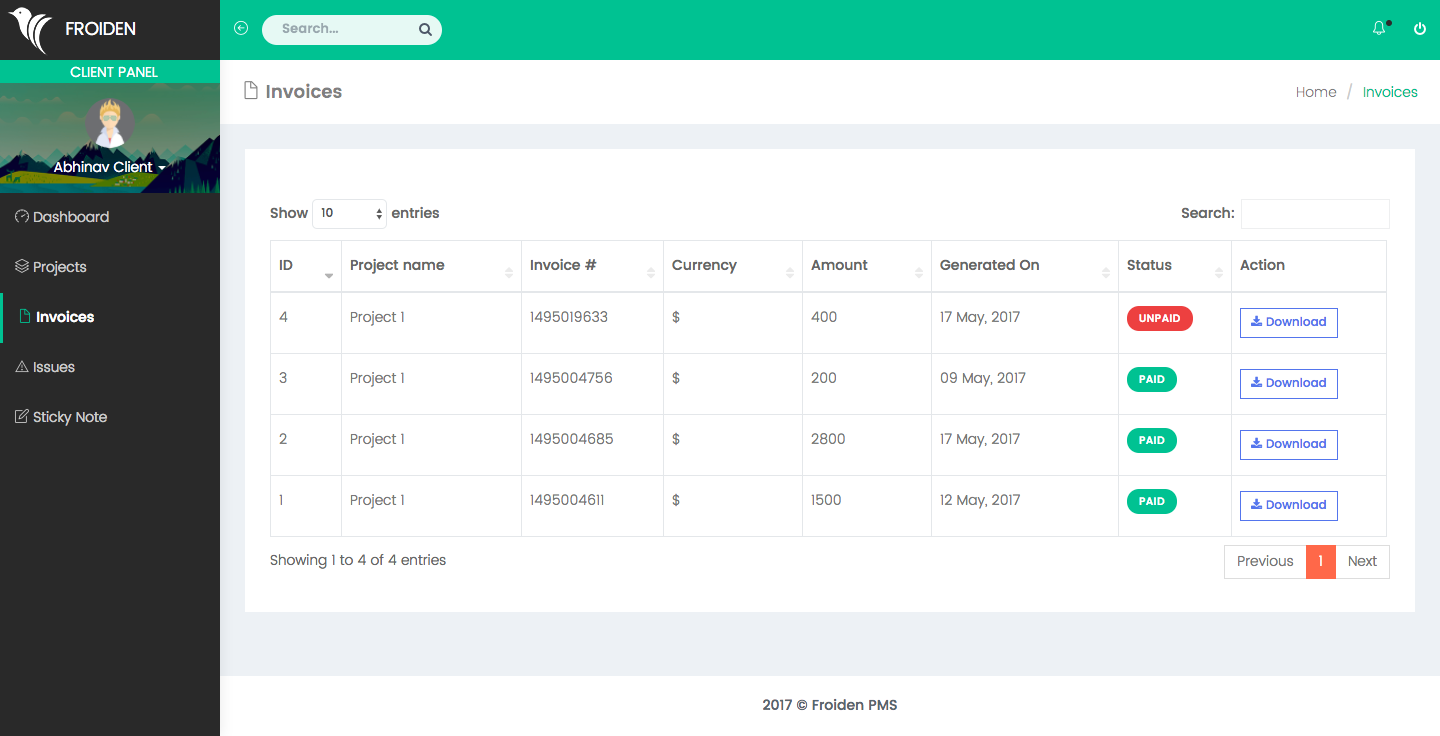
Invoices
It shows the list of invoices which are paid or unpaid by the client.
Estimates
It shows the list of estimates which were sent to the client.

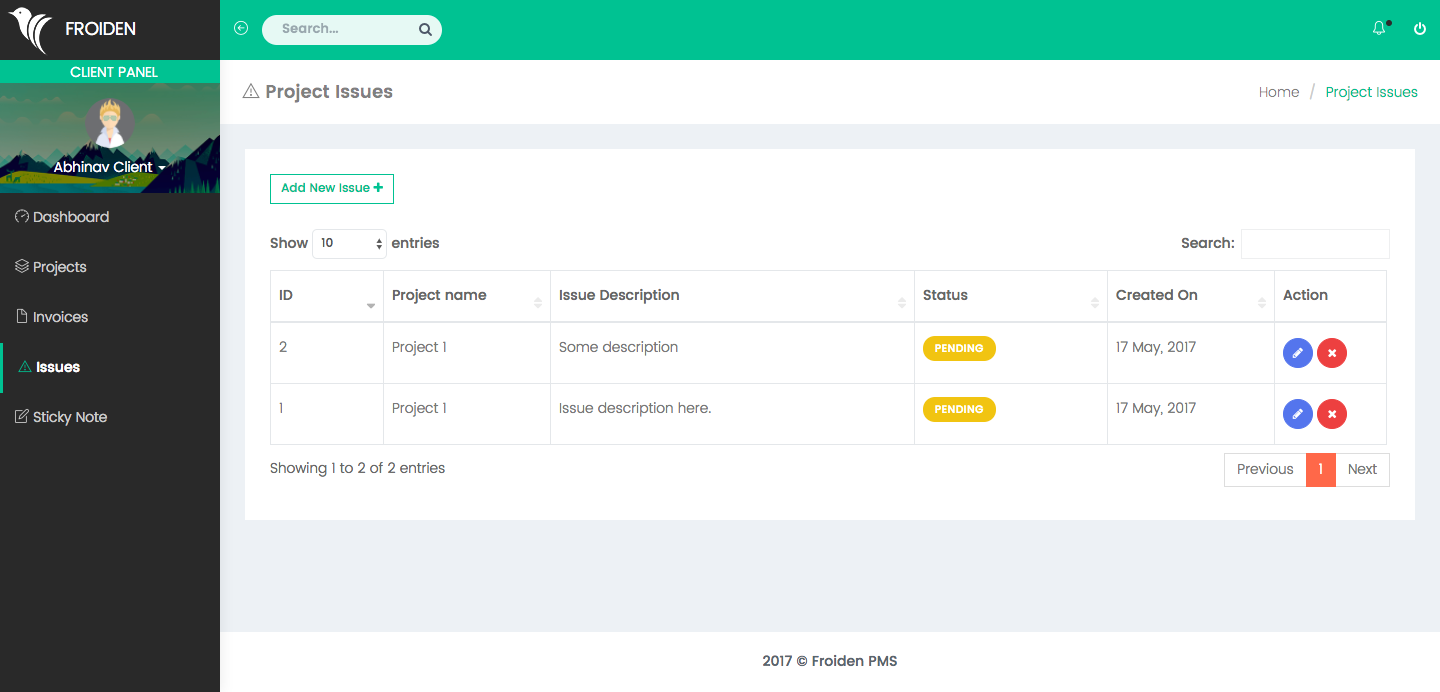
Issues
These are the list of issues which are reported by the client for his projects.
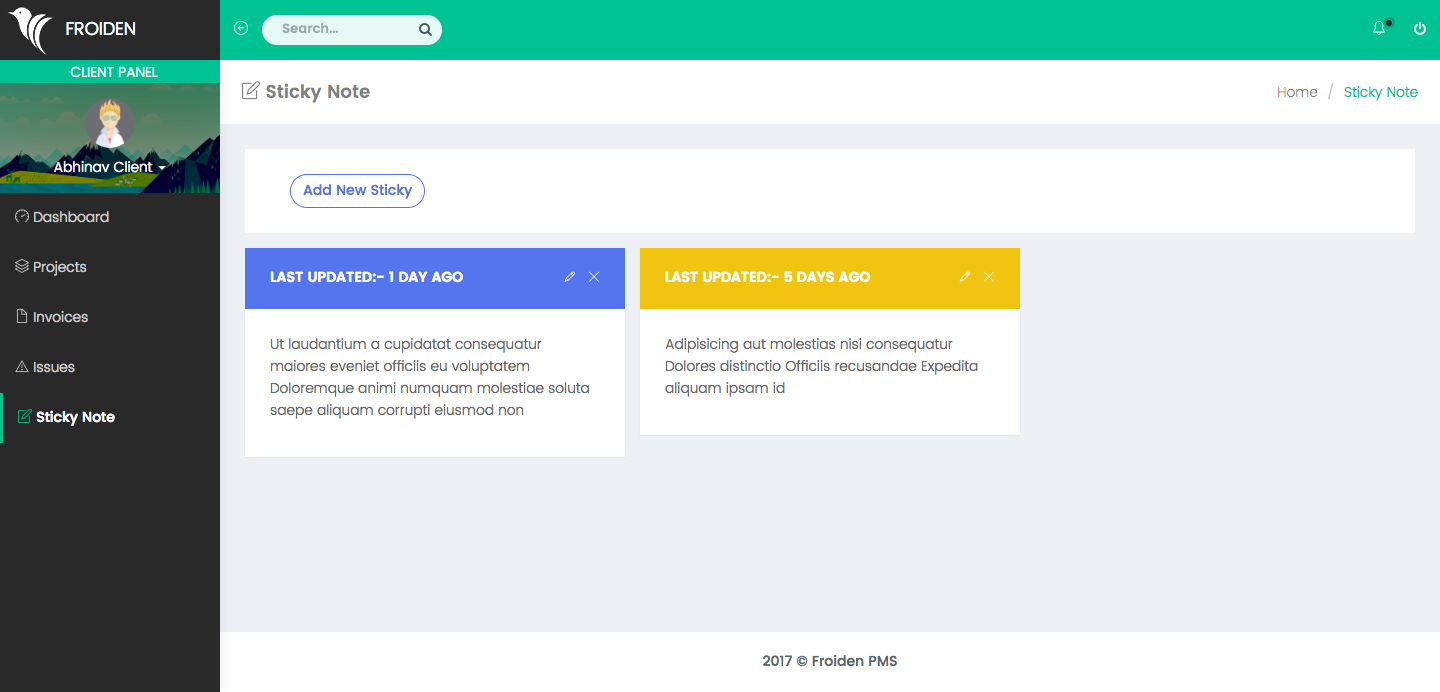
Sticky Note
Clients can create their personal notes.
Language Translation
You can change the translations if required using the translation manager.
Step 1
Visit yourdomain.com/translations.
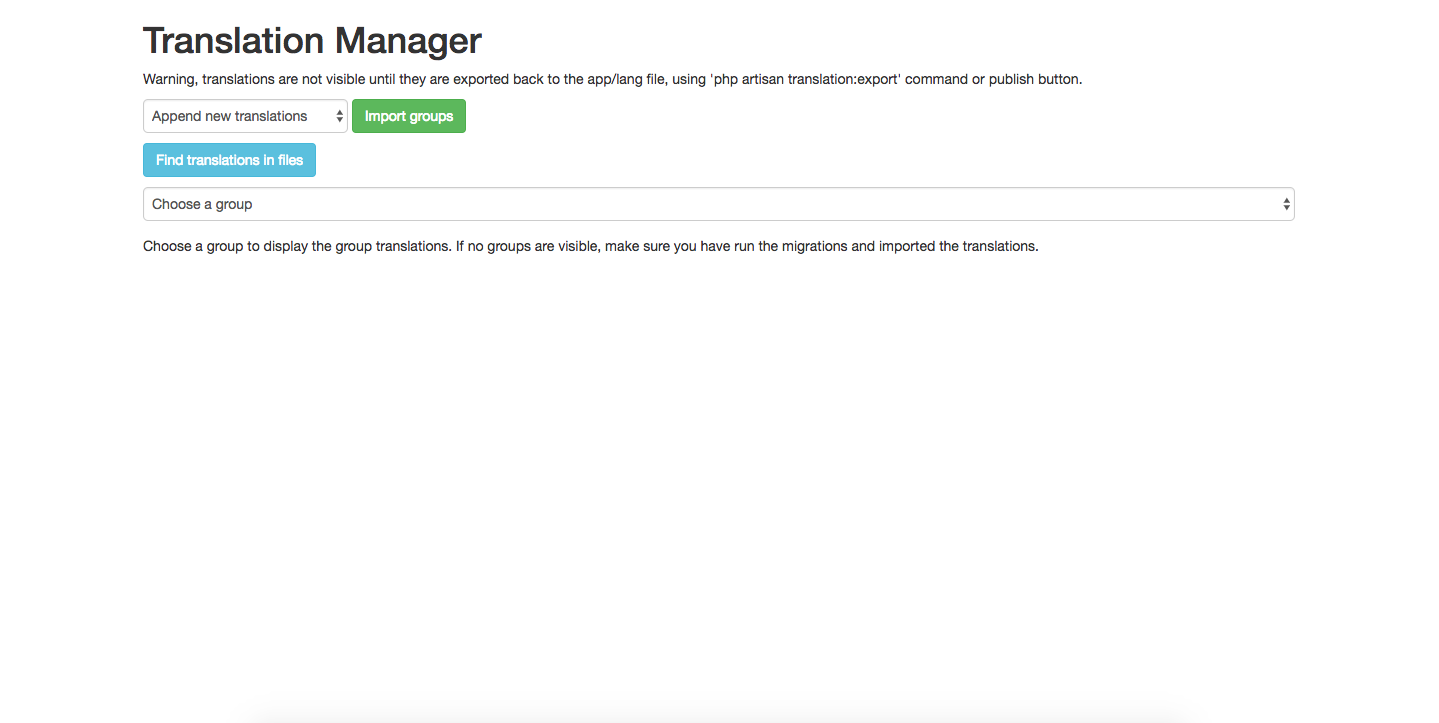
Step 2
Your all translations are arranged in groups. Choose a group from dropdown to change the translations.
You will a see list of translations for each language for every group you select.
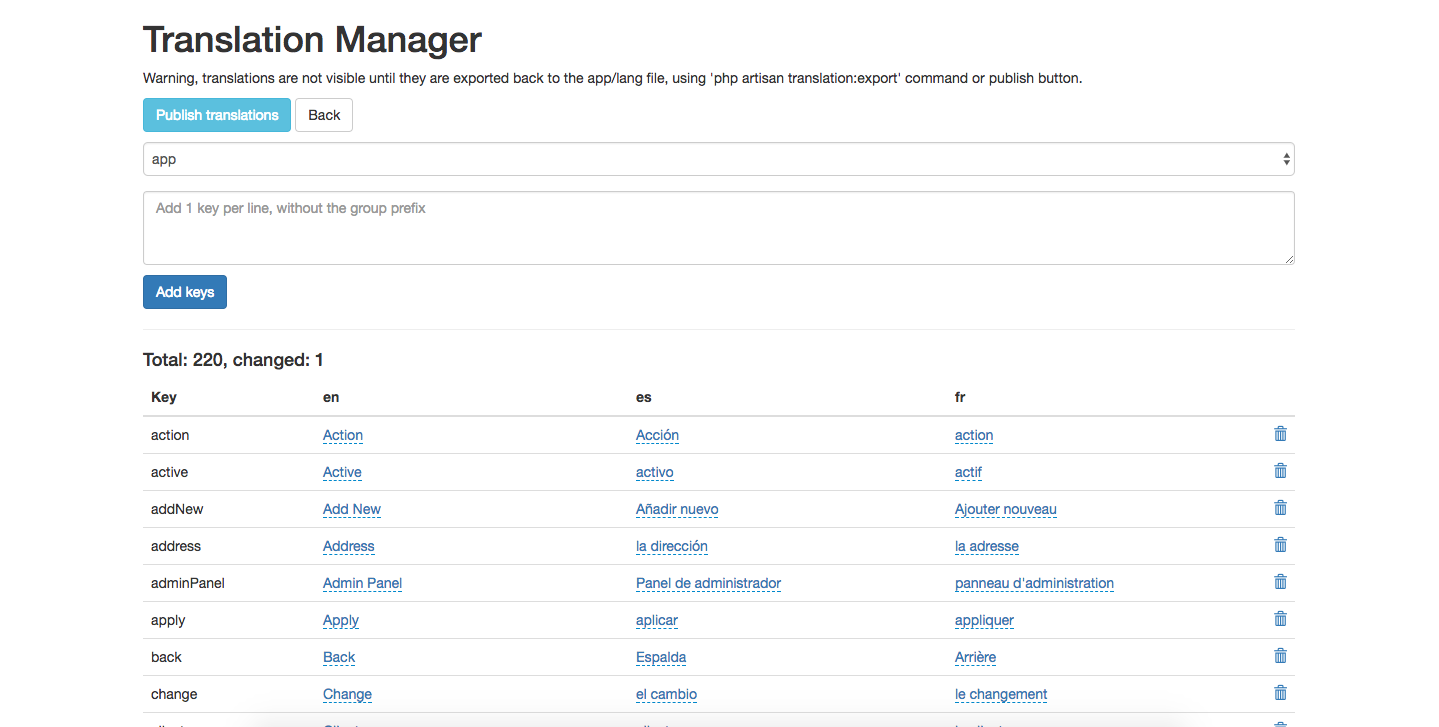
Step 3
1. Now to change the translation string click on the string and you will see a popup to change it.
2.
Change the string and click on blue check button.
3. Similarly do it for all strings you want to change.
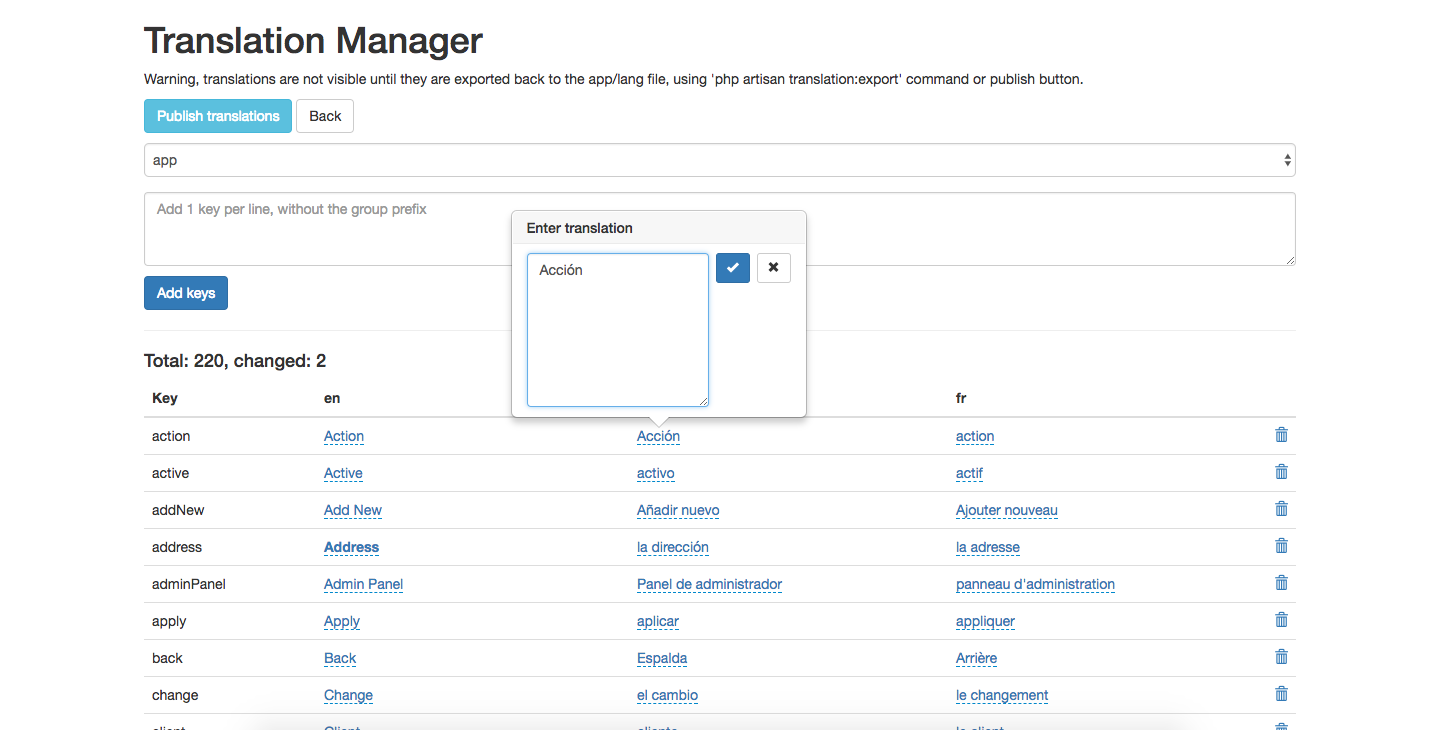
Step 4
Now just click on the Publish translations button on top to apply the changes.
Demo
Super Admin

Email: superadmin@example.com

Password:123456
Admin

Email: admin@example.com

Password:123456
Employee

Email: employee@example.com

Password:123456
Client

Email: client@example.com

Password:123456
Update Instructions
To update to new version of the worksuite follow these steps in sequence.
- Take back up of your files and database before updating.
- Replace all the files and folders except the
.env, public/storage - After replacing the files go to this link
http://www.yourdomain.com/update-database - You should see a database update success message.
- Login to see the new version.
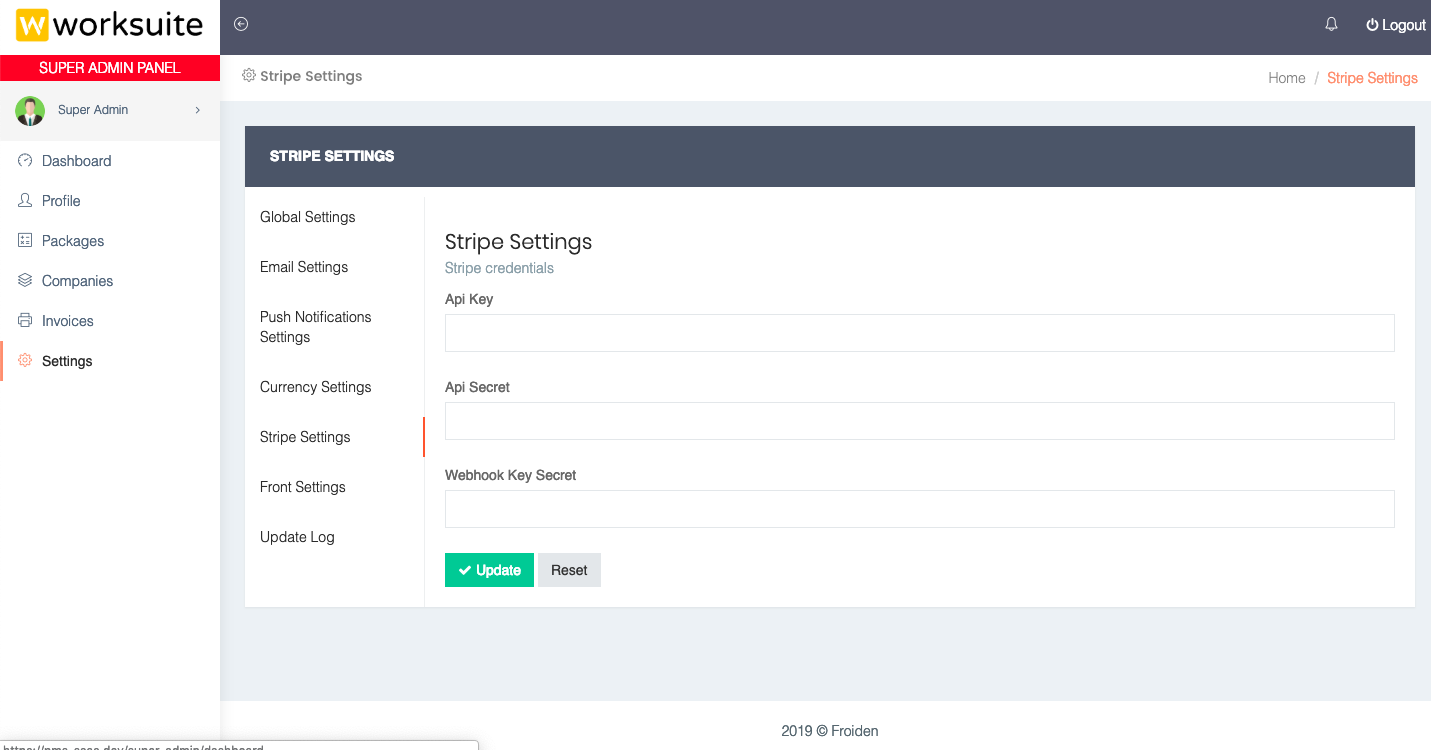
Stripe Settings
- Create plans on stripe and set recurring payments and then put that plan id in packages table.
- Create a webhook for eaxmple "www.example.com/save-invoices" on stripe.
- Domain can be anything but "/save-invoices" is important.
- Select event "invoice.payment_failed" and "invoice.payment_succeeded" while creating webhook.
Update the values in .env file for following
STRIPE_KEY=
STRIPE_SECRET=
STRIPE_WEBHOOK_SECRET=
Social Login
Update the values in .env file for following
STRIPE_KEY=
STRIPE_SECRET=
STRIPE_WEBHOOK_SECRET=